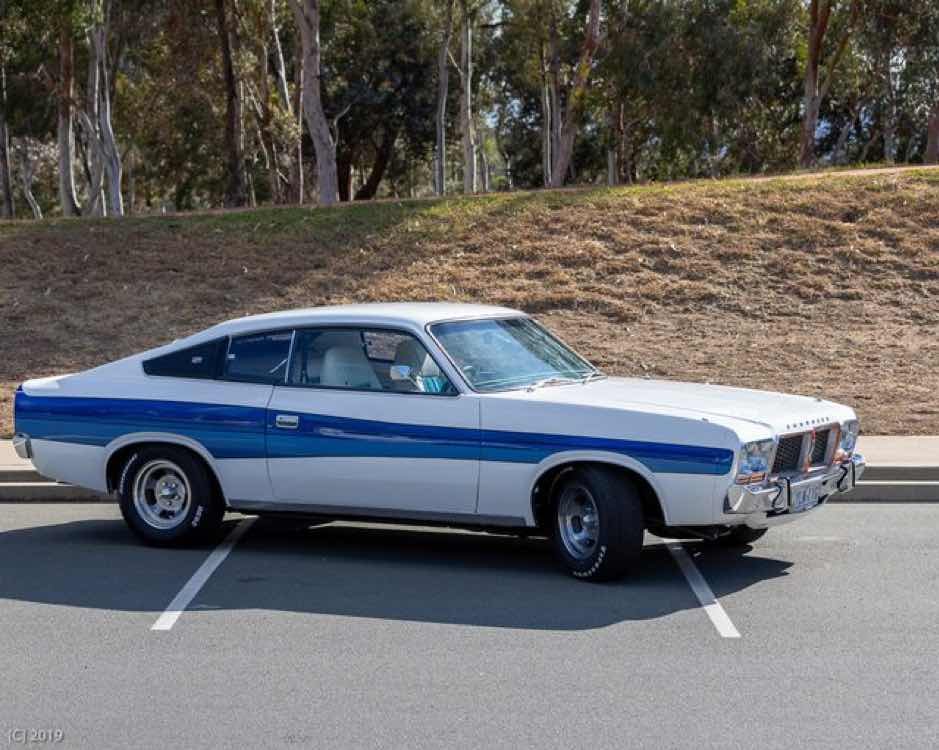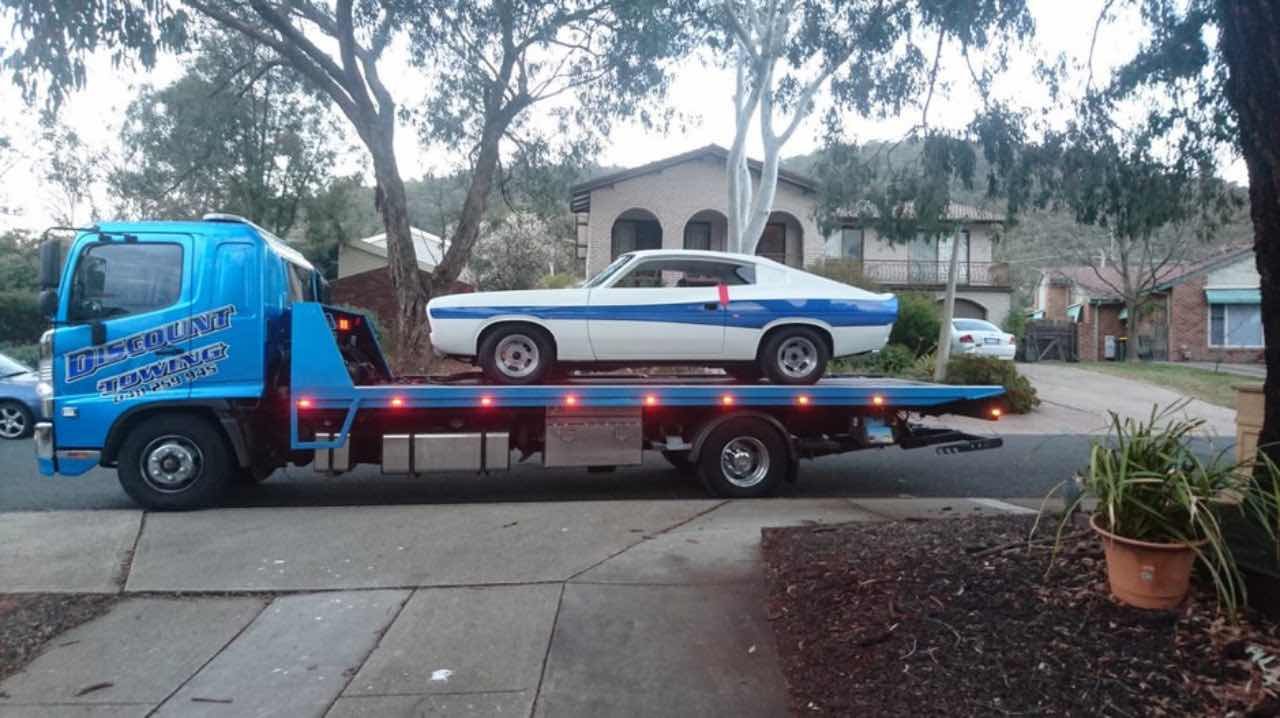

Meanwhile, the Charger is back!!!

After 12 months with the painter I finally had my car back, I feel whole again!
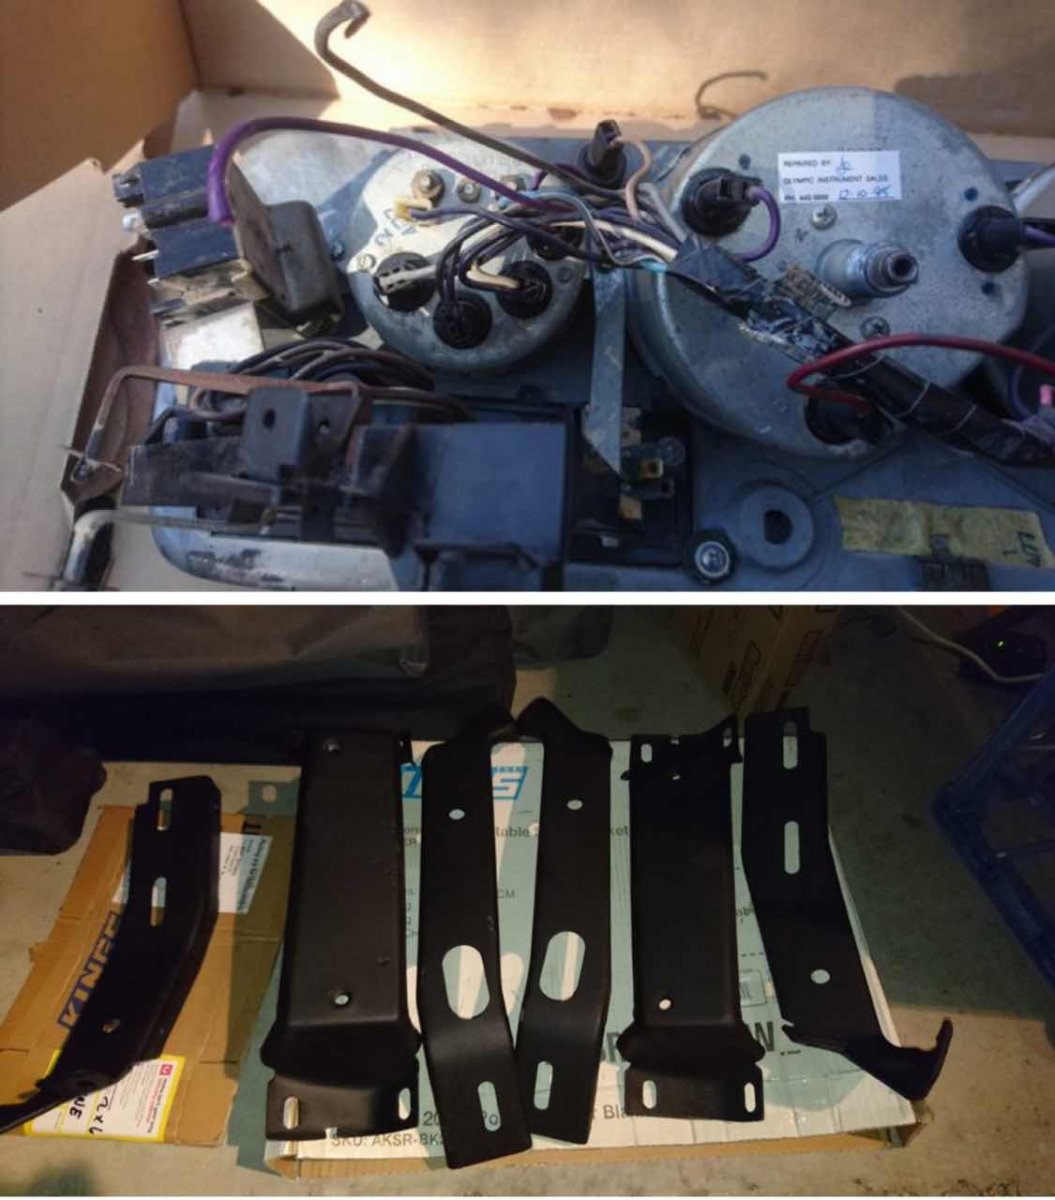
Spent most of the first day the car was back sorting through bits and pieces, trying to figure out what order to put everything back on again. About the only think I did manage was to polish and re-install the dome light housing - at least it was progress…
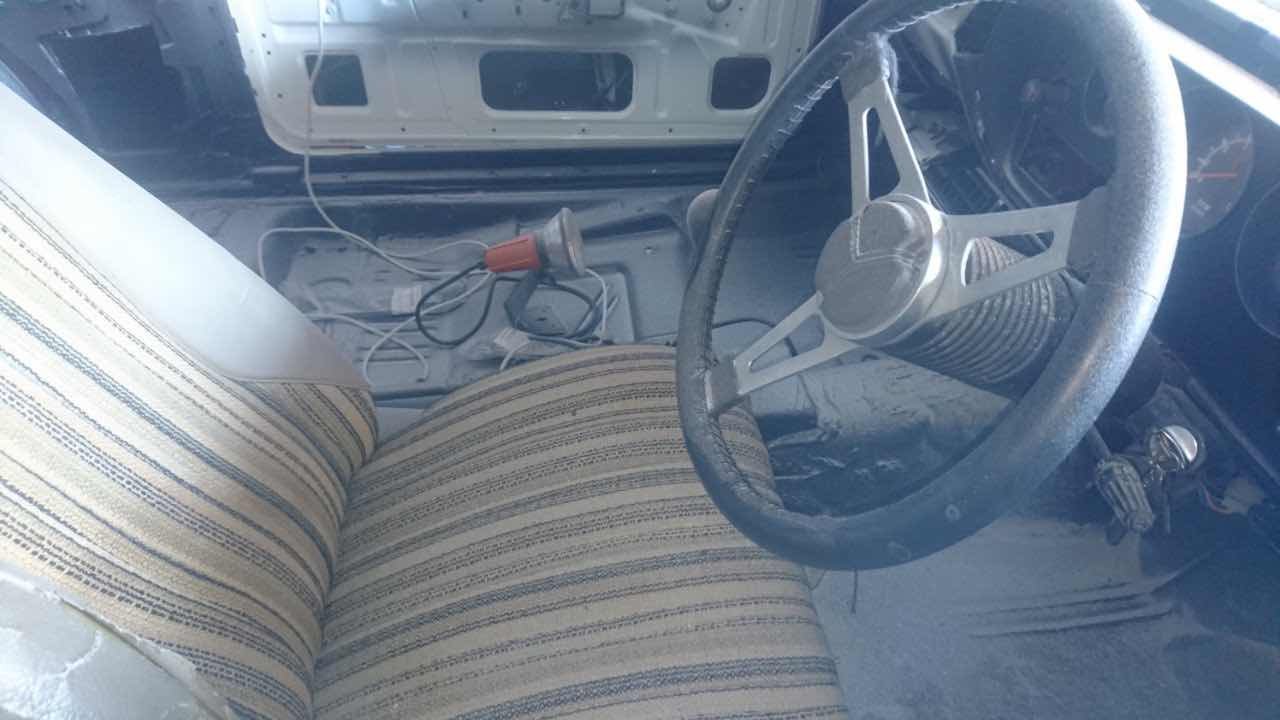
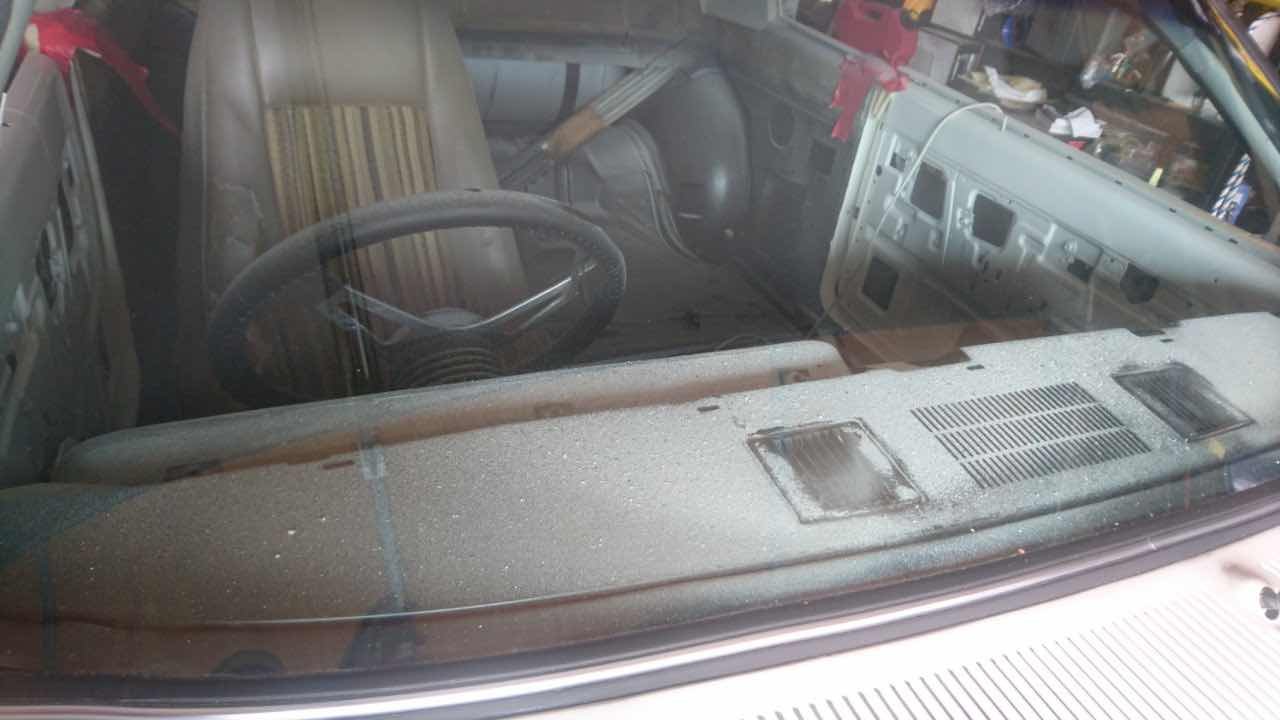
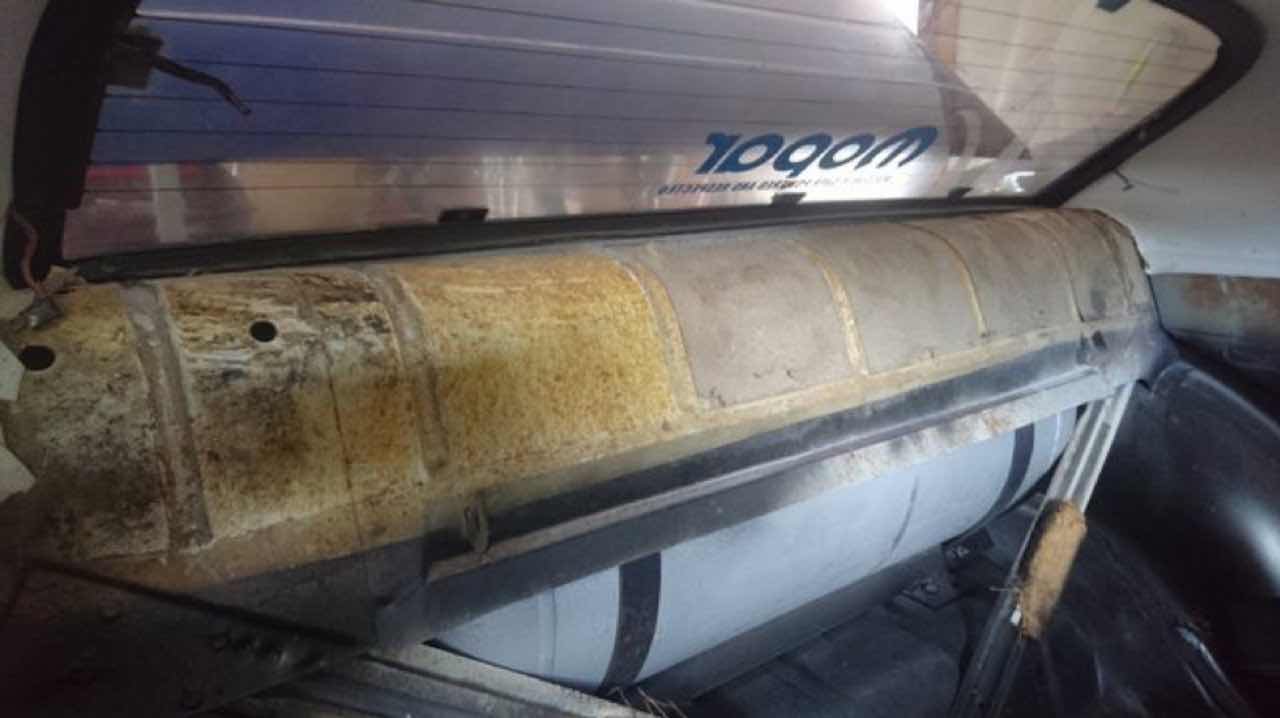
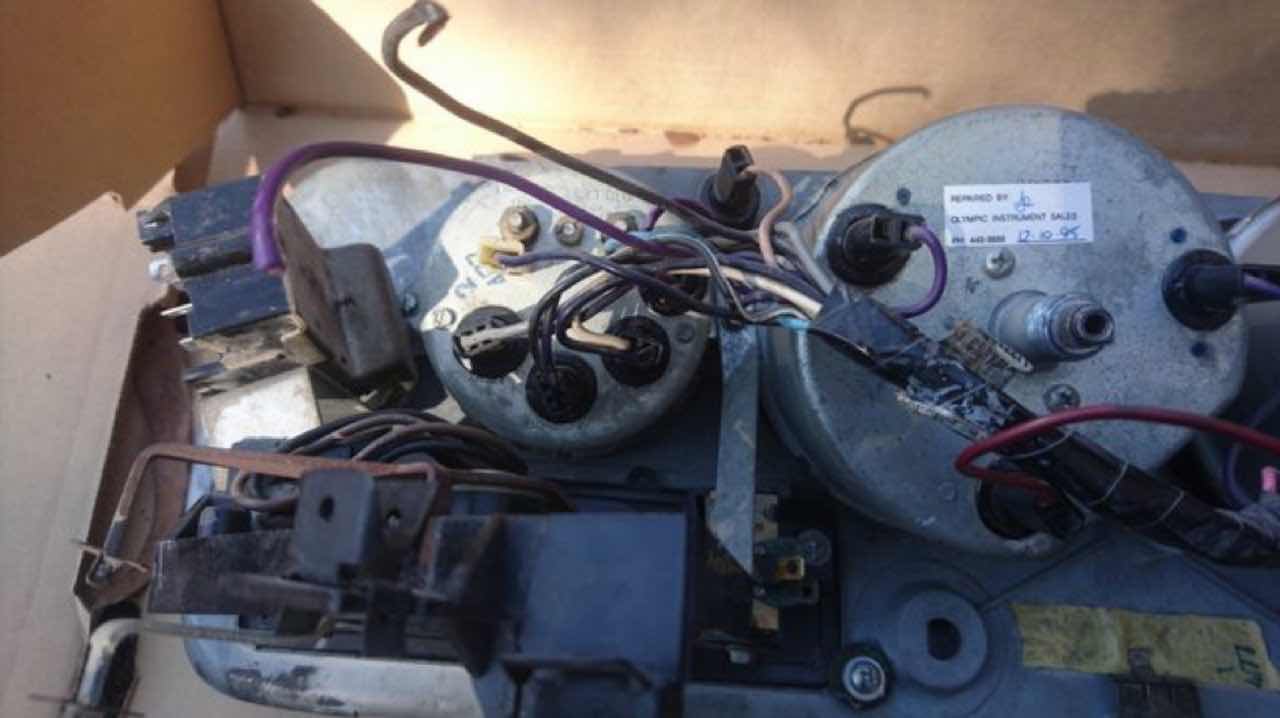
One lesson I learned is that if you ever have your car soda blasted, take the instrument cluster out first. There was a metric shed-tonne of soda in behind the dash and instrument cluster. I tried everything to get it out, blowing it with compressed air, vacuuming it, I even hit with the leaf blower! The stuff is still coming out.
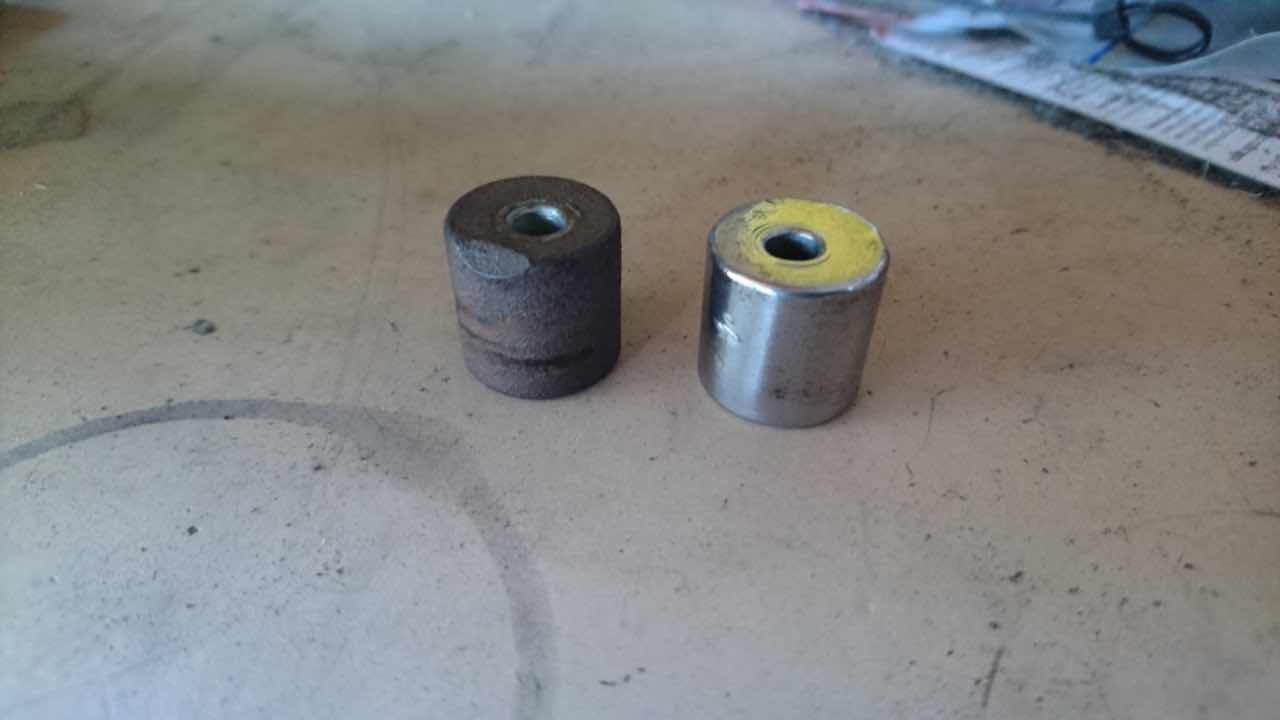
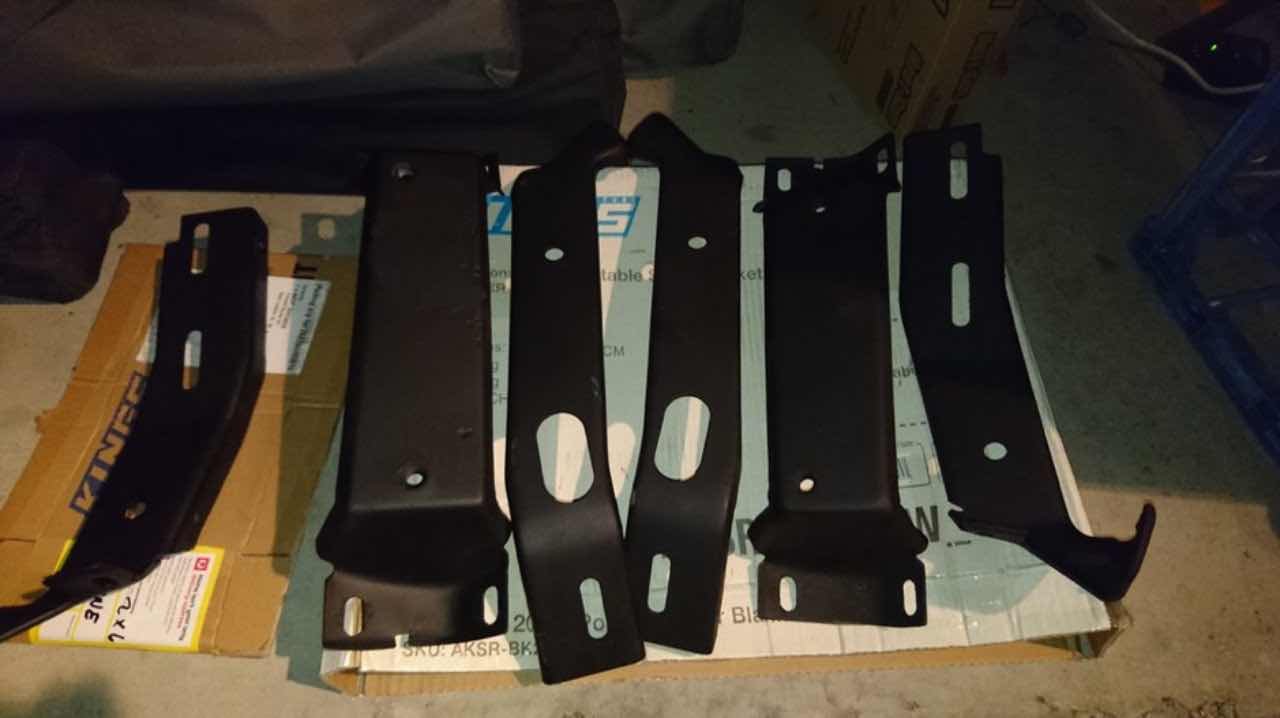
I rust protected and painted up the bumper bar brackets. Bonus points if you can spot the ‘Knead-It’ filling in a bit of surface pitting.
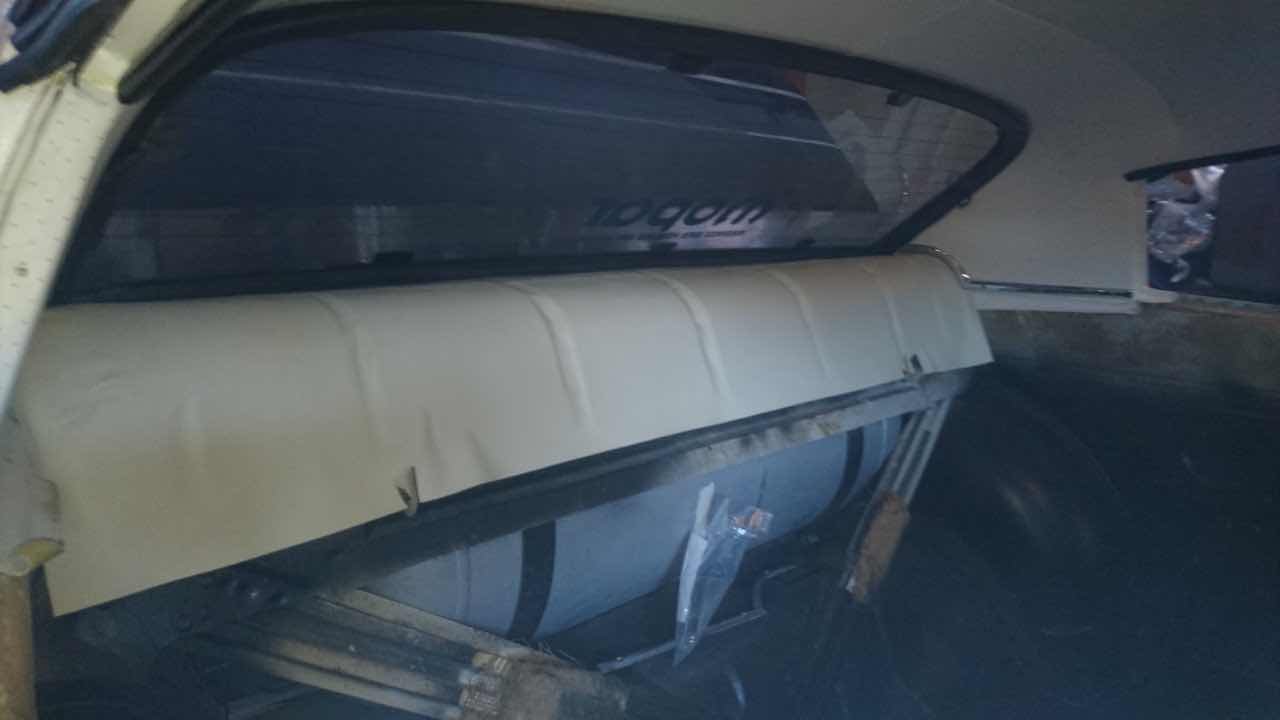
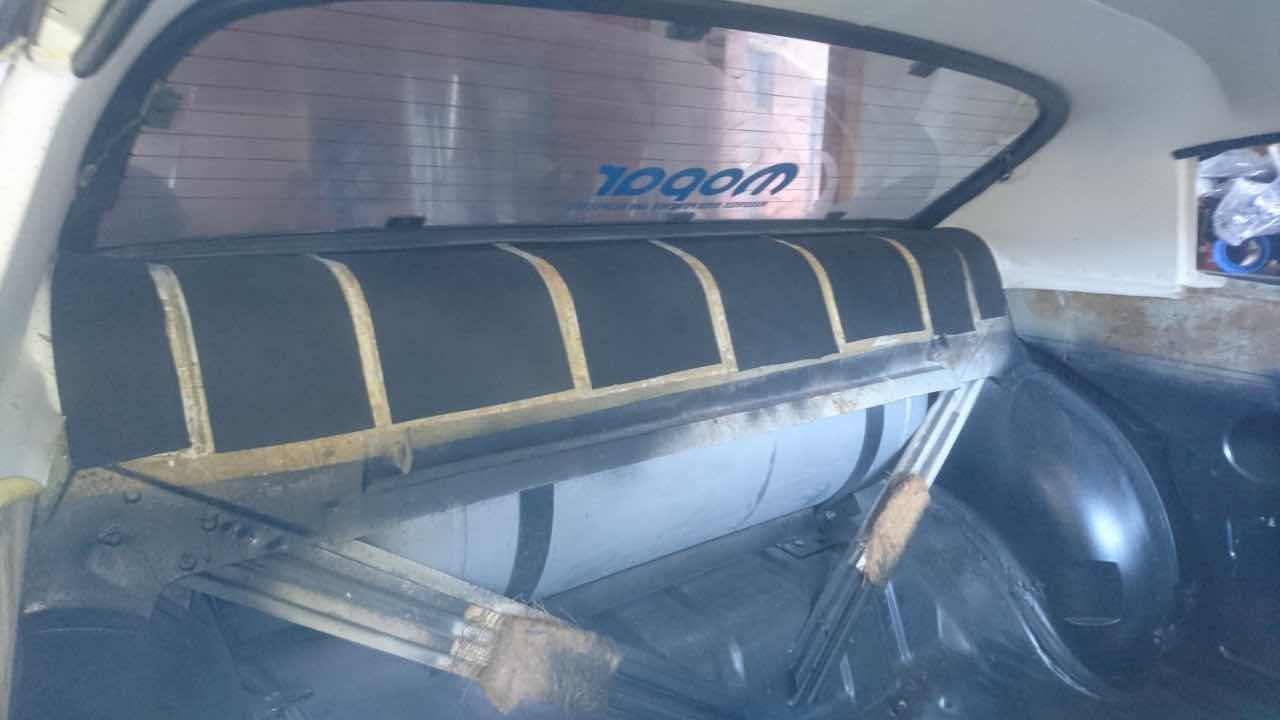
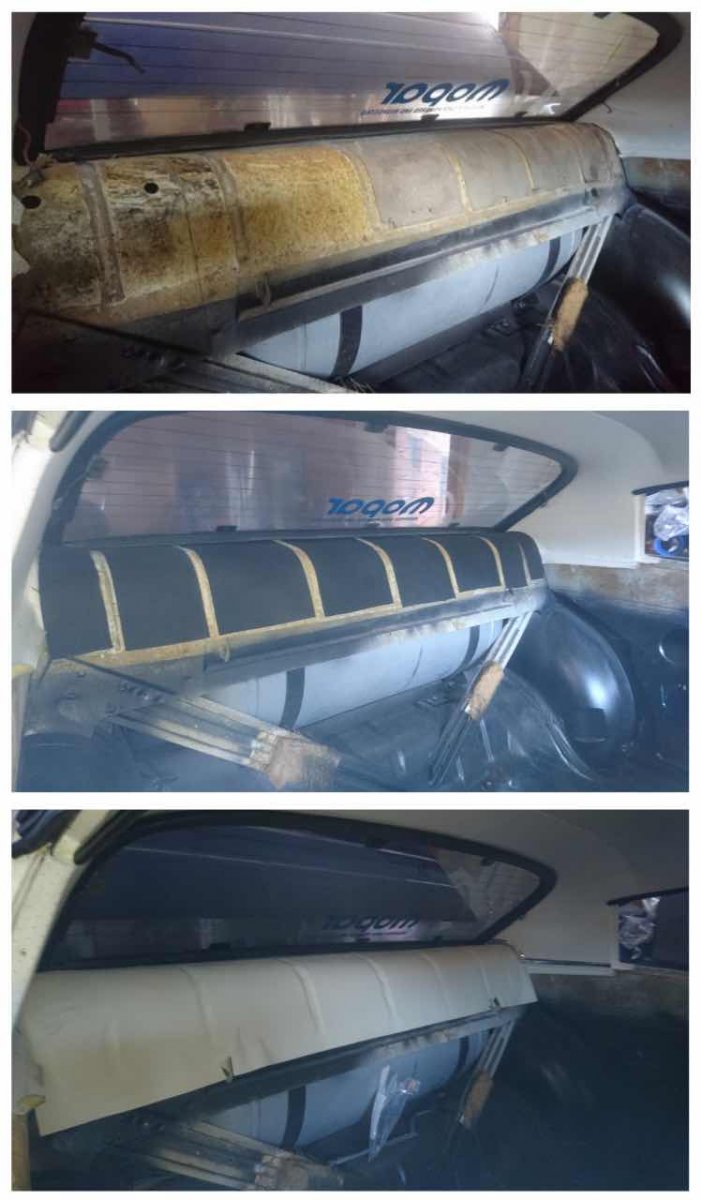
Progress shot of half way through scraping off the cardboard padding on the parcel shelf. It actually came off pretty easily in the end, although still required plenty of elbow grease to get all the glue off. I glued on some 5mm dense foam that I picked up from ACT Foam And Rubber, can't remember how much it was, but it was pretty cheap. I also used it for the backboards on the seats.
Tip for new players - this took me about 6 hours to fit the vinyl on the parcel shelf because the rear windscreen was in. If you ever have to do this, I highly recommend doing it with the glass out...then it would be a 20min job.
It looked great when I finished late in the evening, but the next day there were a couple of lumps that showed up. I hit it gently with the heat gun and rolled the roller over them which seems to have pretty much fixed them. Hopefully they won’t show up again.
Have I mentioned how much I hate soda blasting? If not, I really hate soda blasting! I vacuumed the car and inside the dash for 3 days, I am not exaggerating here, I started counting how many times I emptied the vacuum cleaner the first day, but stopped once I hit 19...and that was pretty much just the dashboard area.
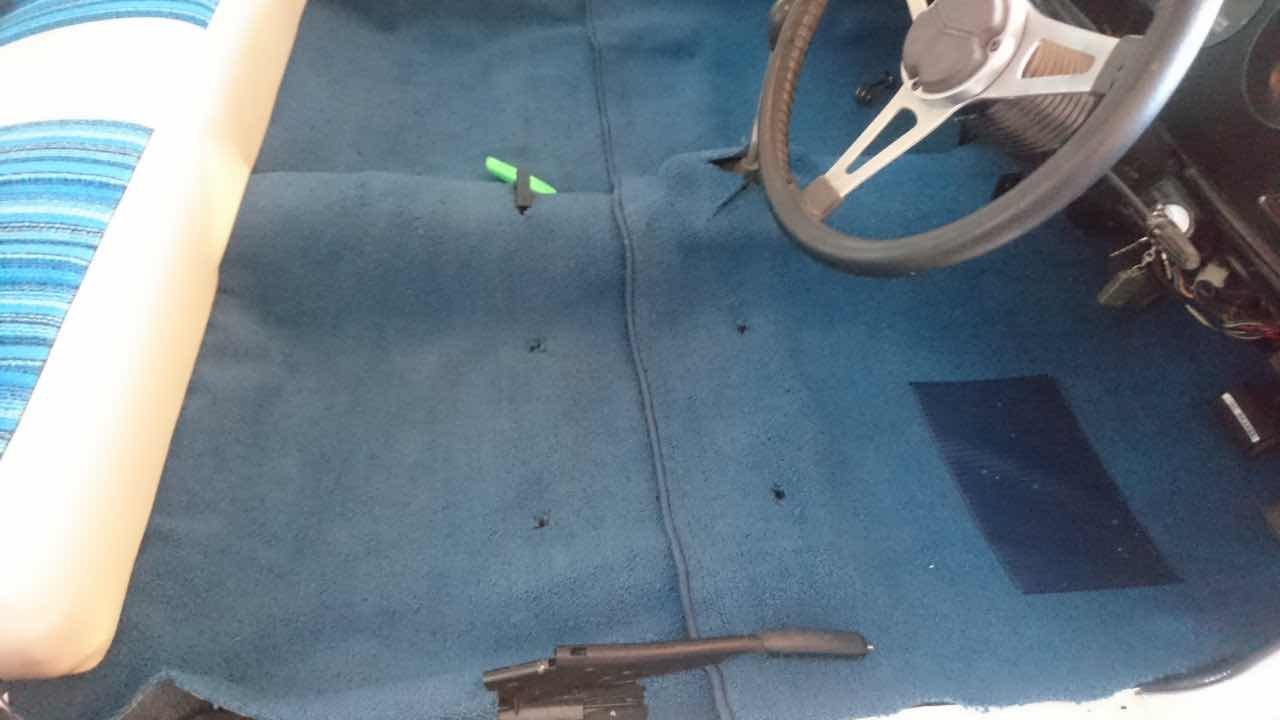
So, the story now turns back to the dreaded fine, white powder that is soda blast media, and what I imagine it would be like to be a Colombian drug lord...remember the 19+ loads of soda that I vacuumed out? I had a niggling voice in my head saying “but what about when you turn on the heater fan?”...I knew it would probably blow a bit out so I wanted to do that well before the interior went back in, but when I did turn the fan on, it looked like a friggin' blizzard in the car!
It was so thick and white, I couldn't see from the driver's side to the passenger's side, and when the dust settled, the floor resembled a 1983 stockbroker's convention coffee table, white powder everywhere! Check out the floor around the shifter, that was all from the first 20secs with the fan running.
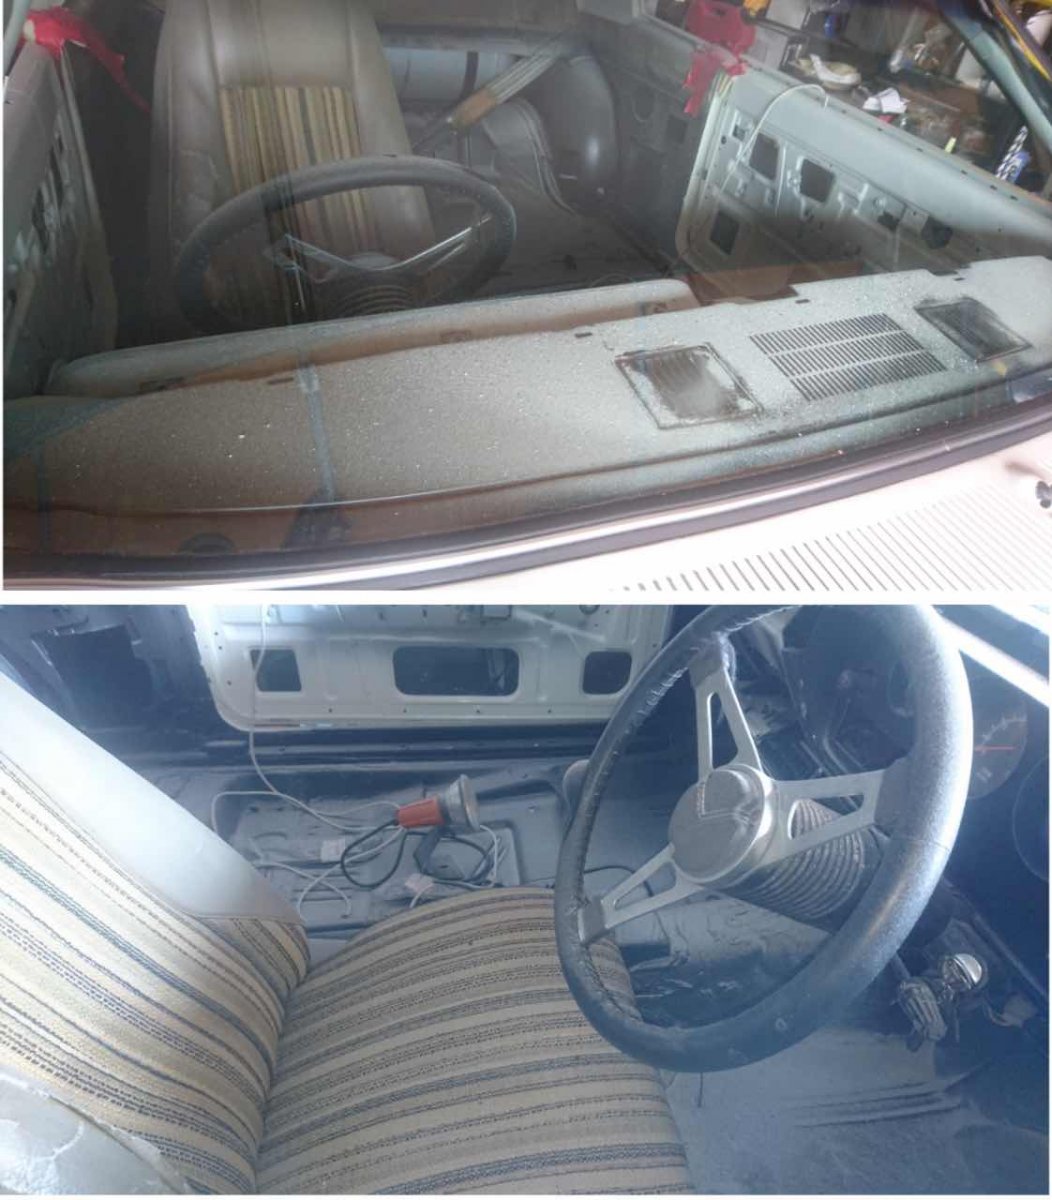
I’m pretty certain I will never get it all out. One day it will be funny, but now it’s still a bit too soon.
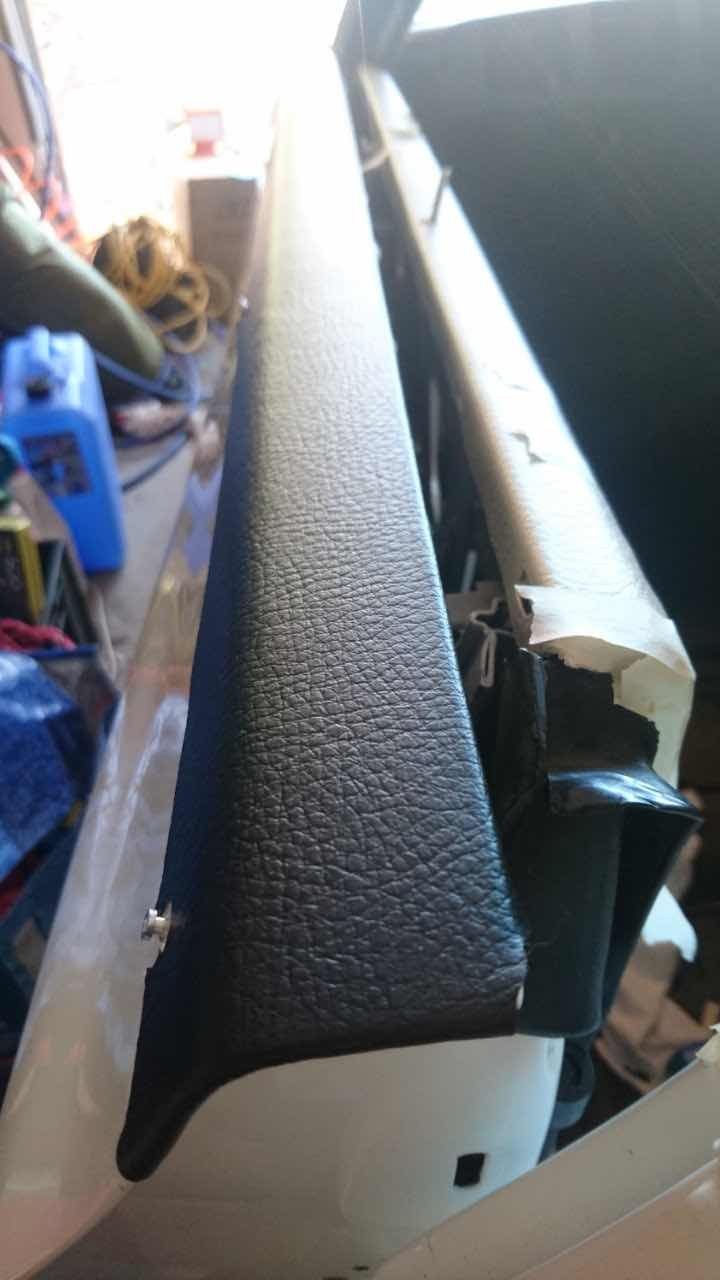
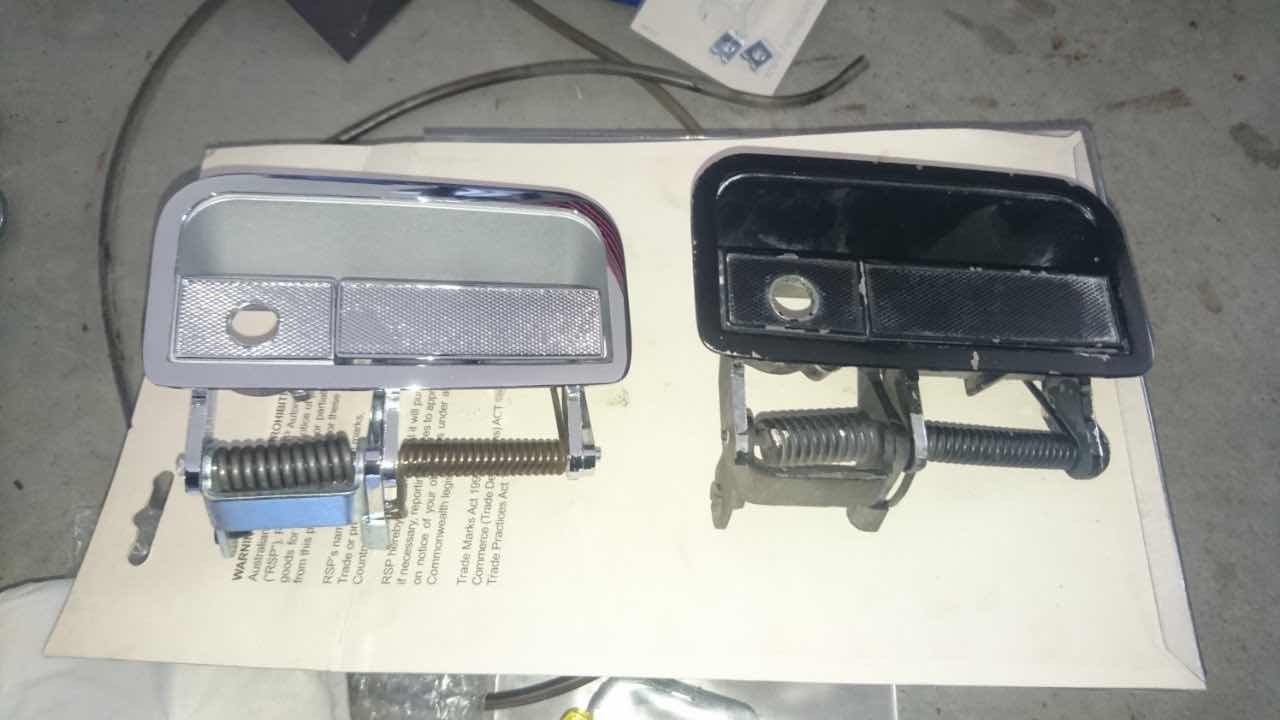
During this build I have tried really hard to re-use all the original bits and pieces, when it came to the exterior door handles, they were bent and really could not be straightened, at least not without fatiguing or cracking the metal so I decided to buy new ones. The new one is on the left if you couldn’t tell.
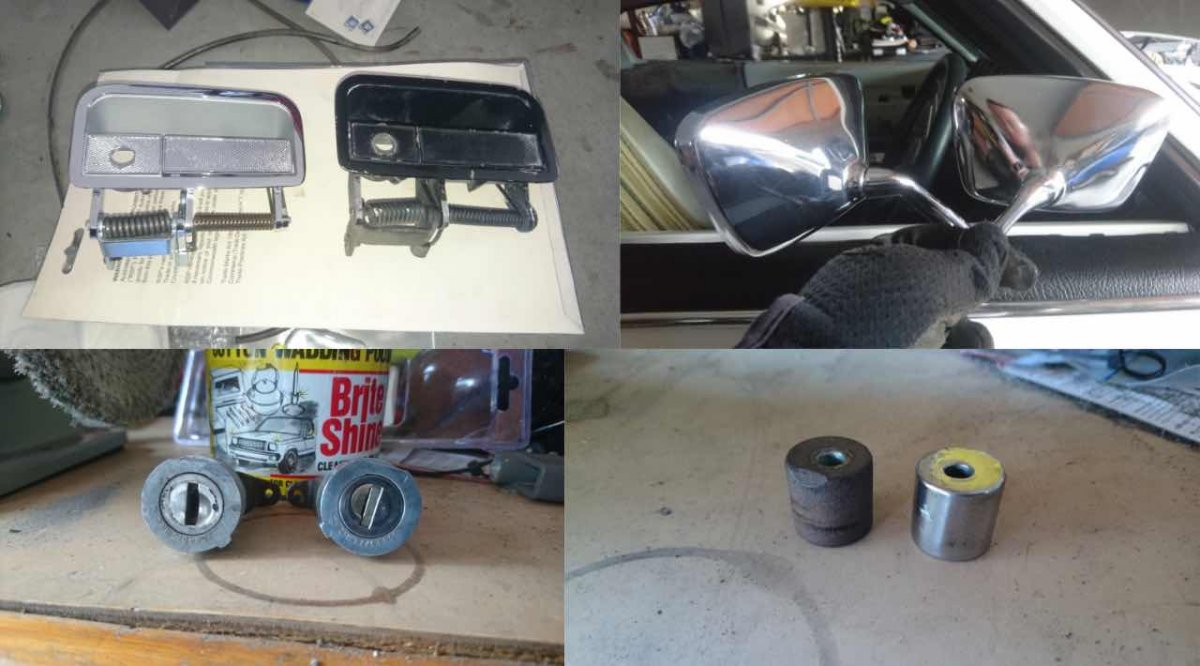
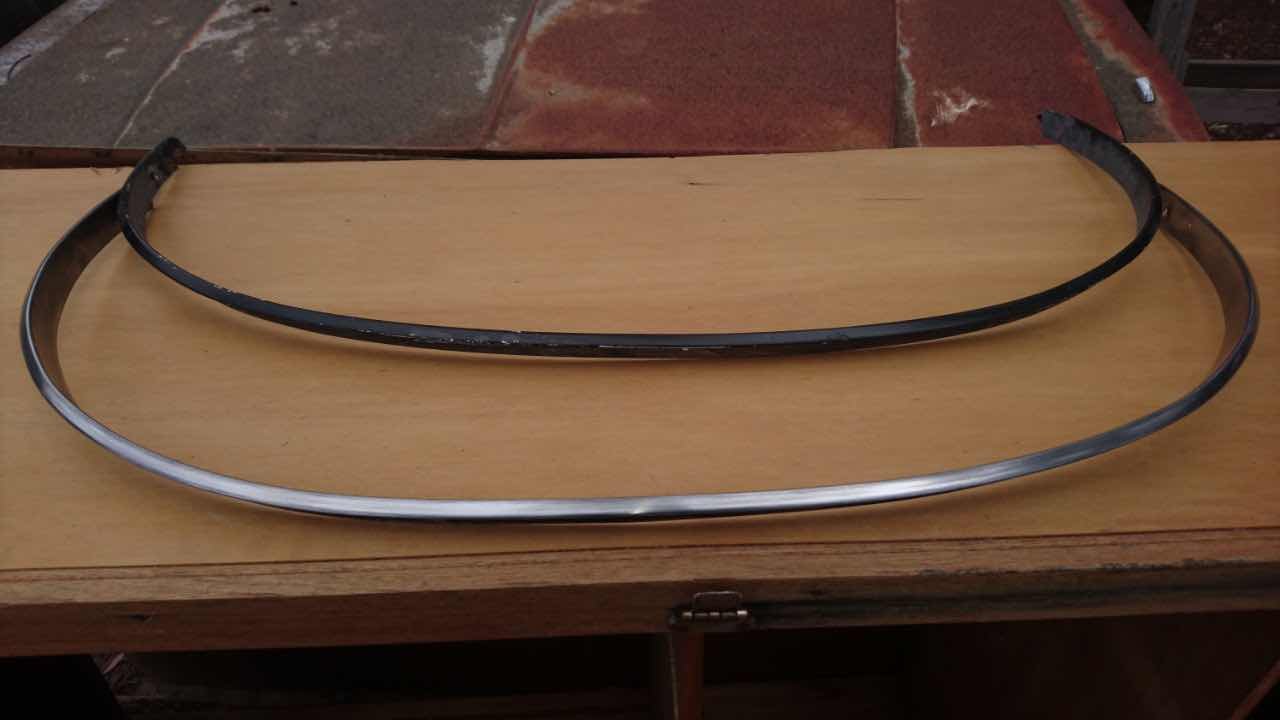
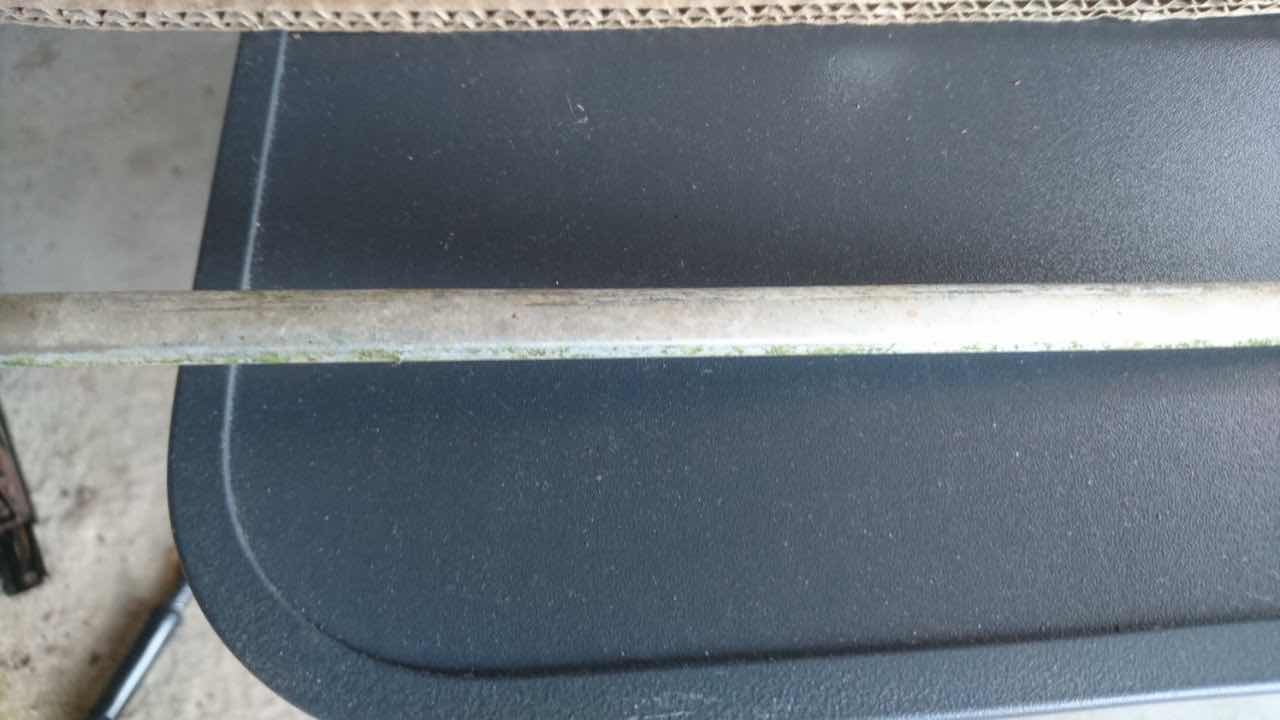
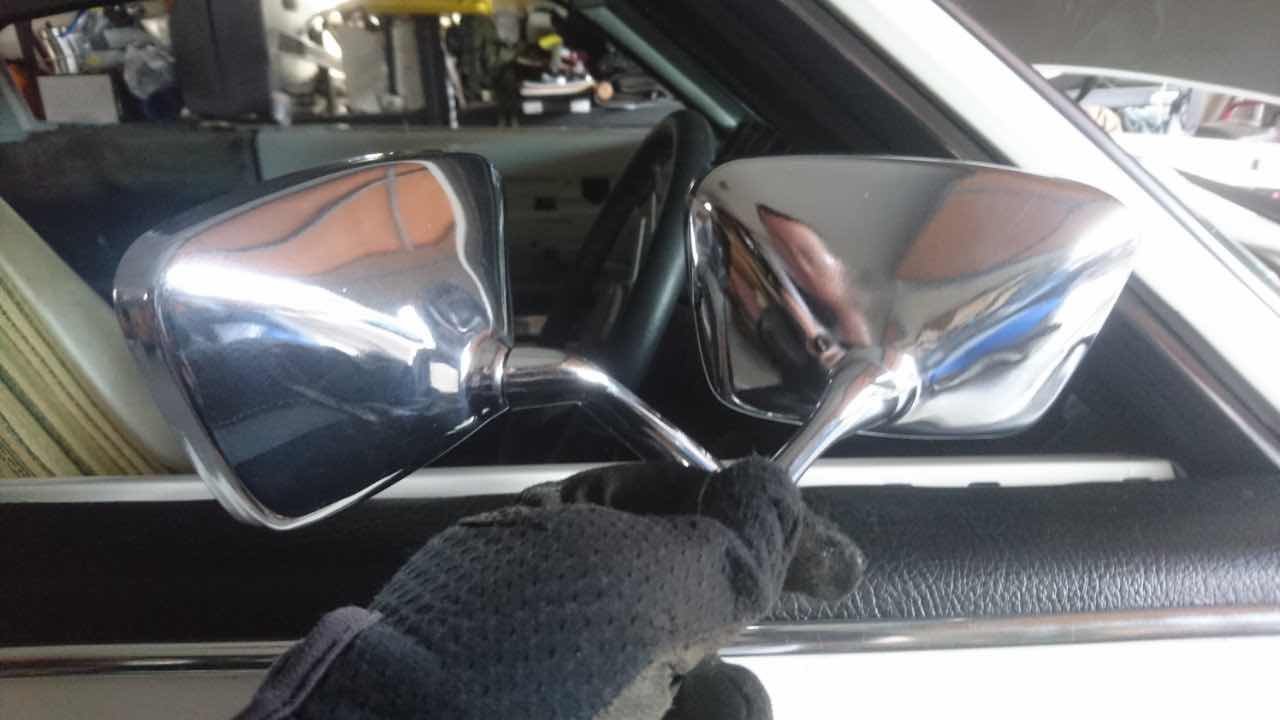
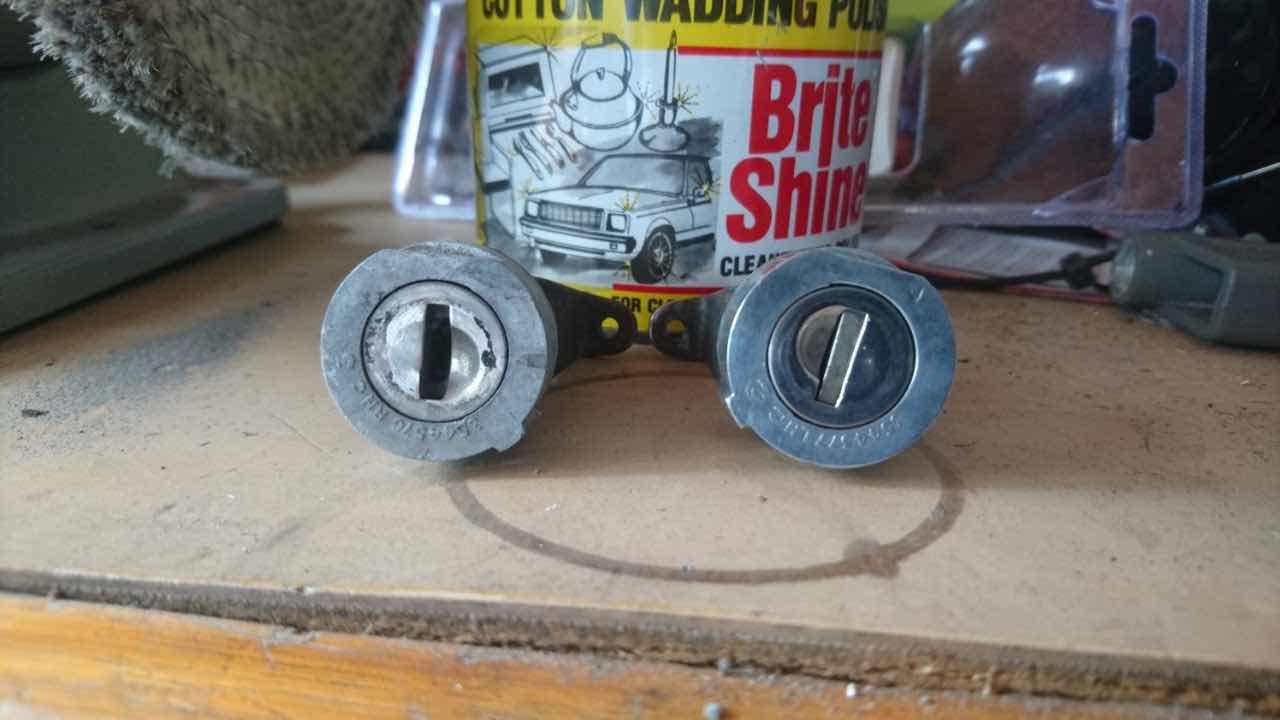
Re-using the old brightwork meant a tonne of cleaning and polishing so here are a few ‘before' and 'after' shots. First up, the door locks, Mirrors after a bit of a buff up, Seat latch end caps, before and after polishing, Roof rail trim before (yes, that is a bit of moss you can see on the bottom edge). Wheel arch trims.
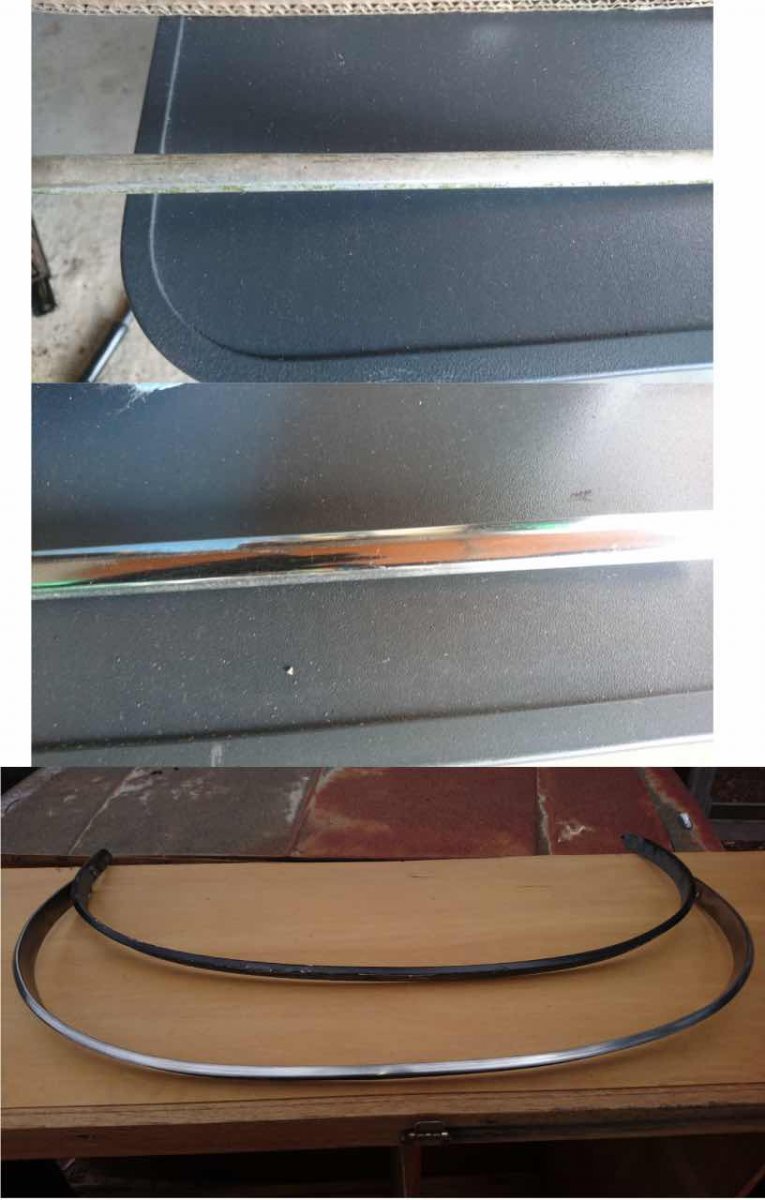
As you can see, it is not perfect, but it's a 42-year-old car, so I don't mind it showing a bit of character here and there. Plus, this is not a show car and will be driven regularly so it'll end up with bumps and bruises eventually anyway.
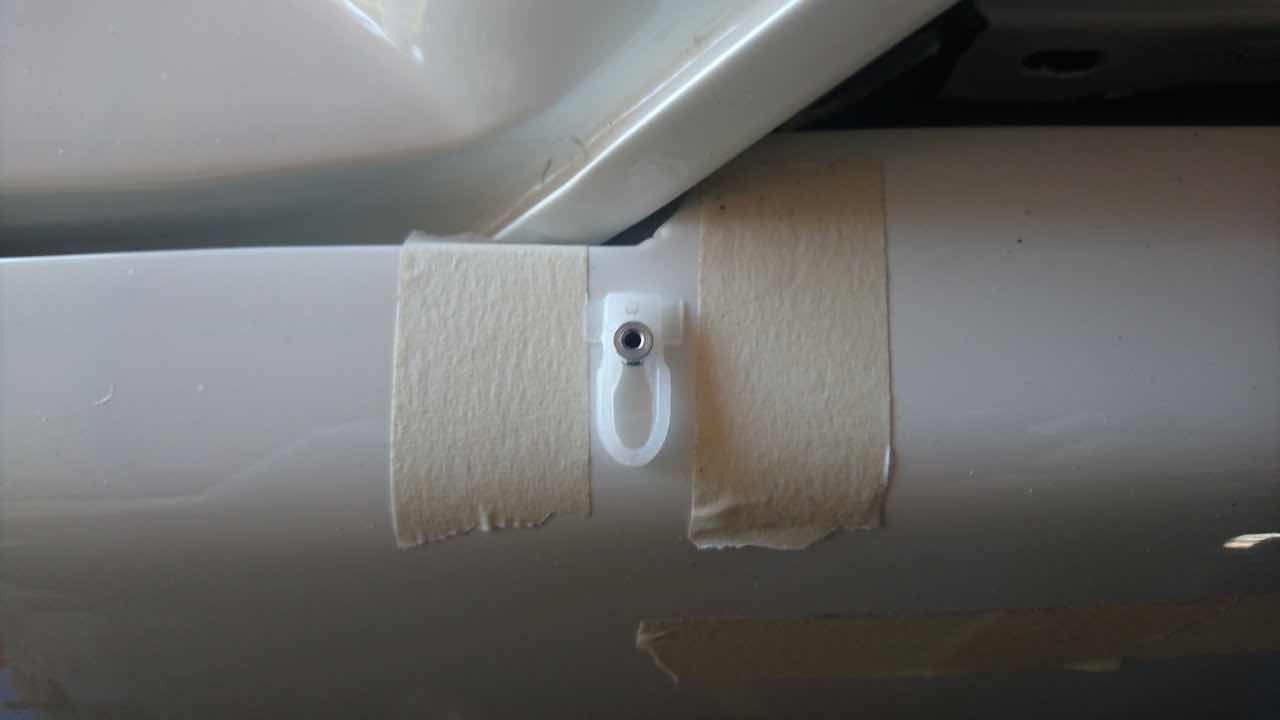
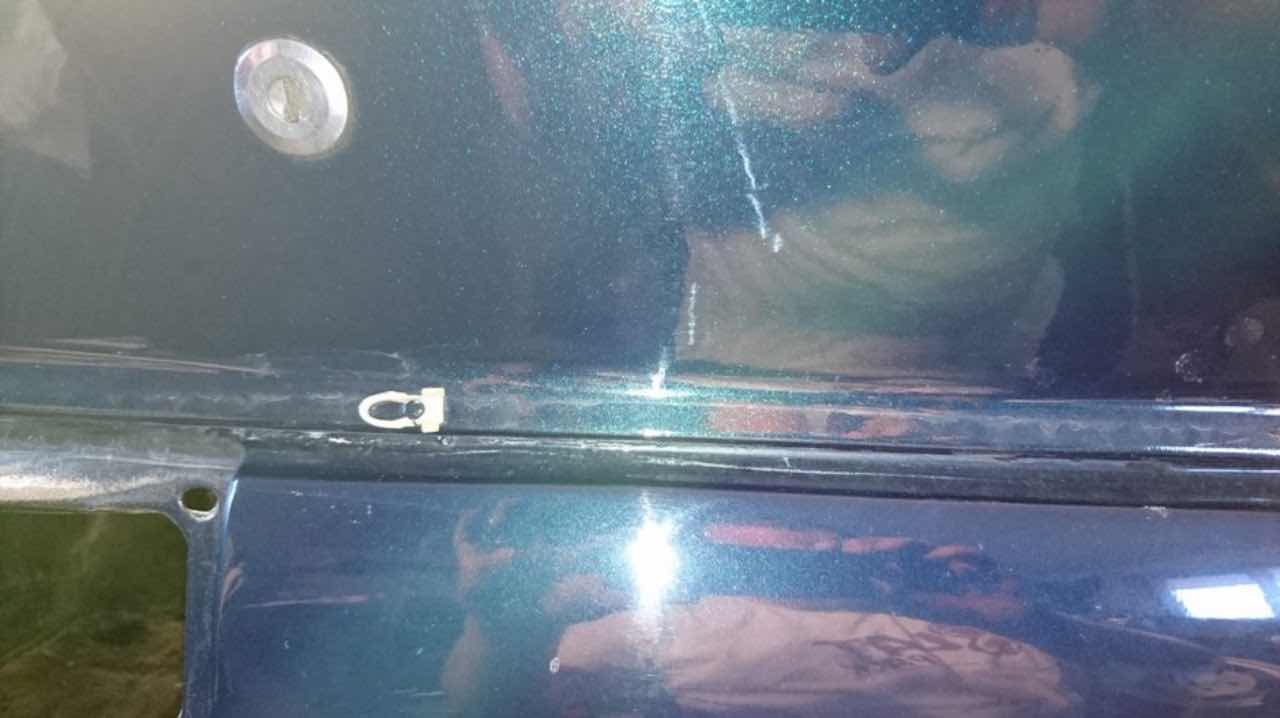
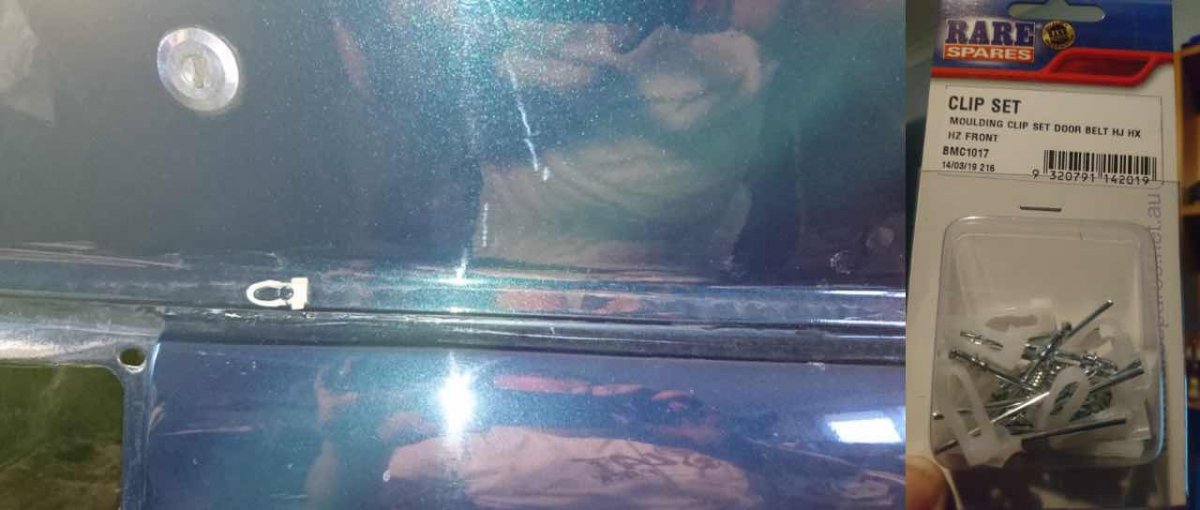
The previous owner had used the moulding clip in the picture below to attach some of the door trims, but most of them crumbled into dust when I removed the trim, and because they aren’t Chrysler OEM spec I didn’t know where to find replacements. I finally had some luck at a local Rare Spares, (known to Canberrans as Speeds) after going through their entire shop umpteen times (it's sorted by Ford and Holden, so things are all over the shop) Found an exact match. I had to buy them as a pack with rivets which I thought I didn’t need. For anyone playing along at home you can get these clips in an ‘HZ Front Moulding Clip Set’.
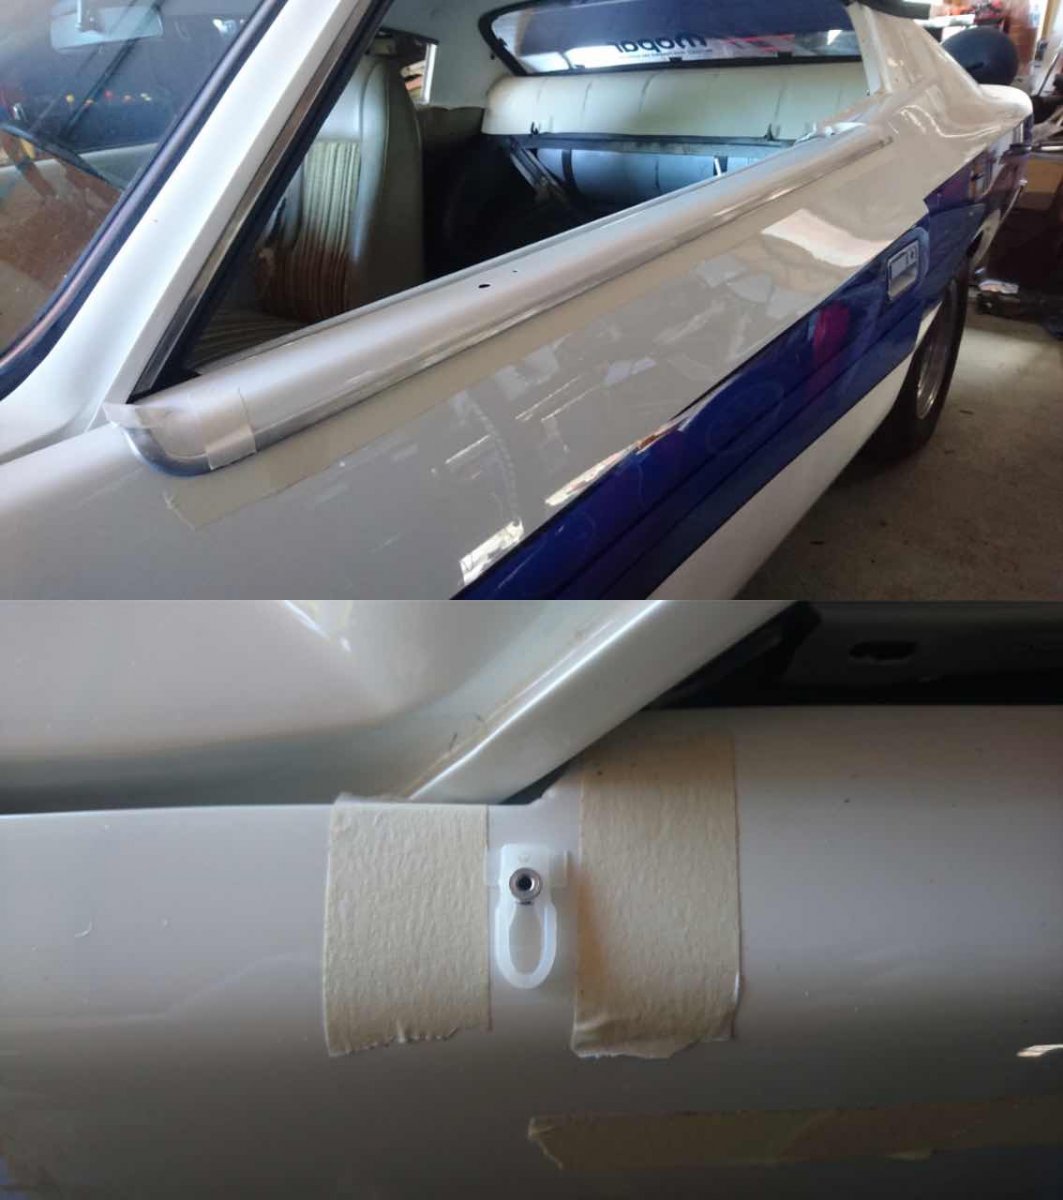
I wasn’t keen on re-using the random assortment of self-tapping screws that had held the clips on the passenger door trim, so I decided to bite the bullet and use the rivets as well as the clips. I bought a rivet drill bit (no, I don't know what makes it special for rivets, looks like a normal drill bit to me...just a little shorter) and drilled out the existing screw holes, and popped the rivets in (see what I did there? LOL) attached the clips. After a small amount of lining up, the moulding clipped straight on. It's tight and really solid. I'd highly recommend this method to anyone who is considering it.
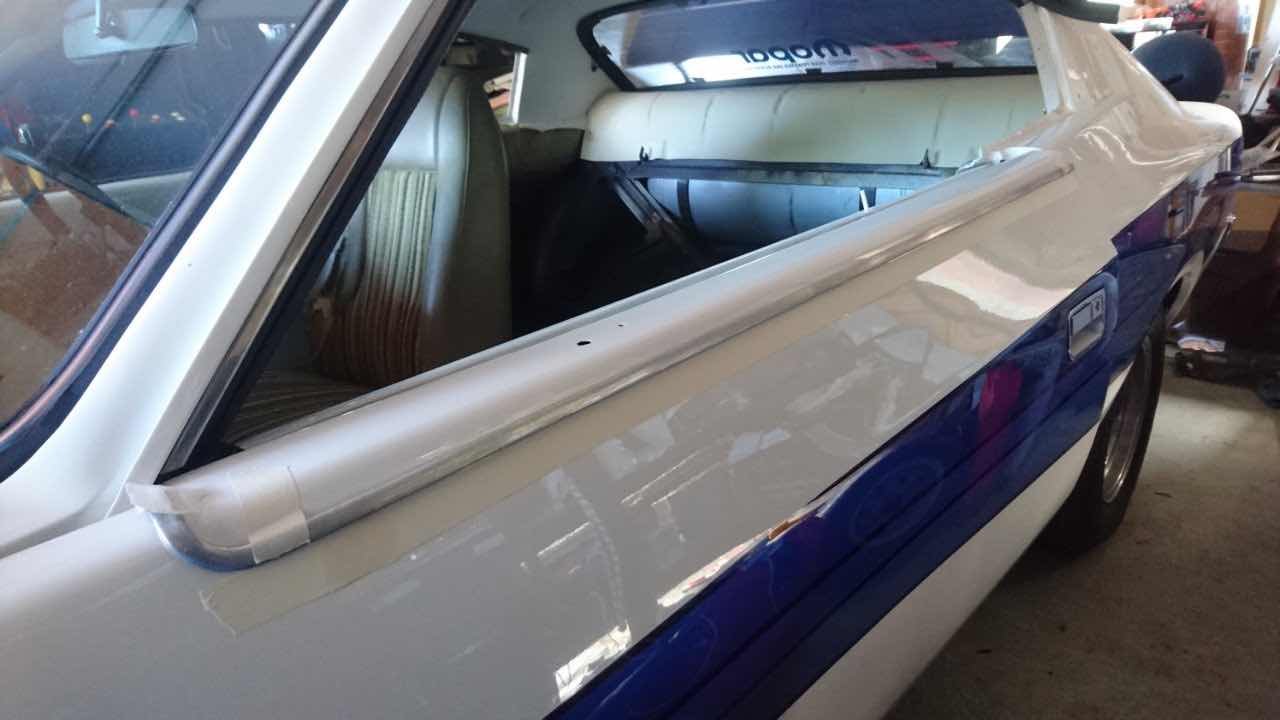
Getting the trim lined up so I knew where to drill the new holes.
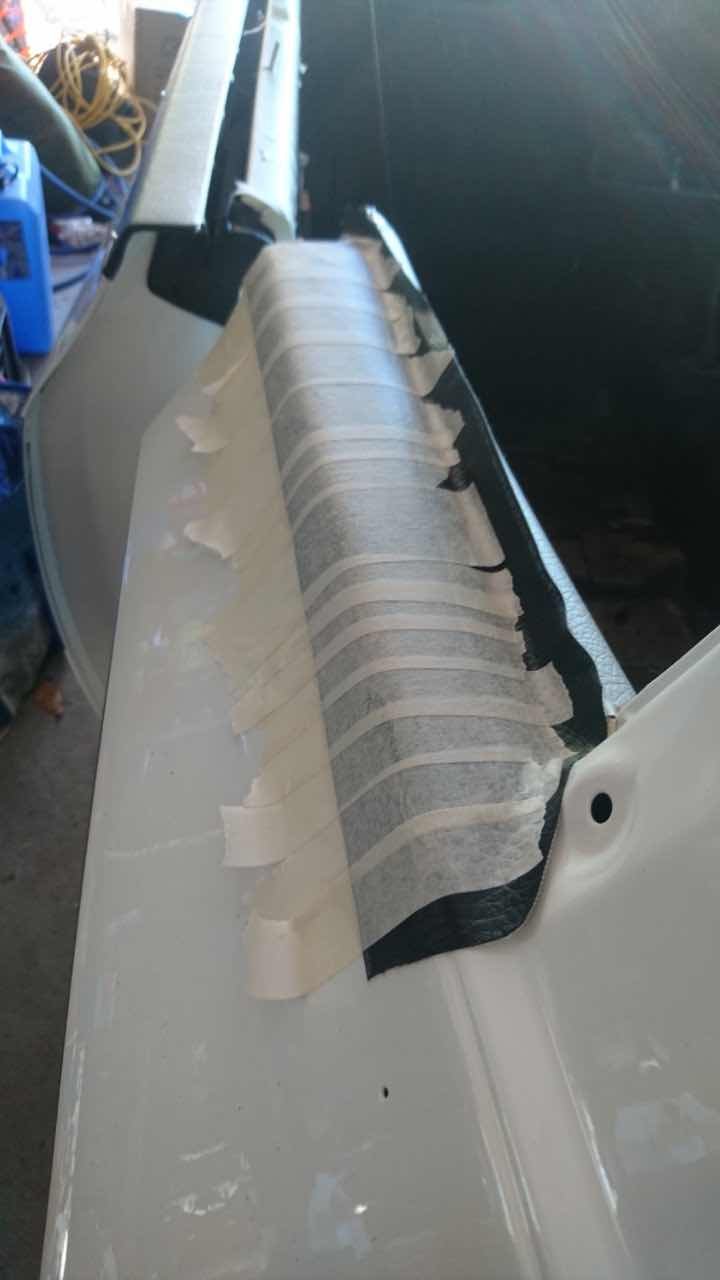
The next step was to glue the vinyl to the top of the door.
I learned a bit through trial and error so I thought I'd just try to summarise what I think is the best method that I came up with. Full disclosure, I am a complete noob at this.
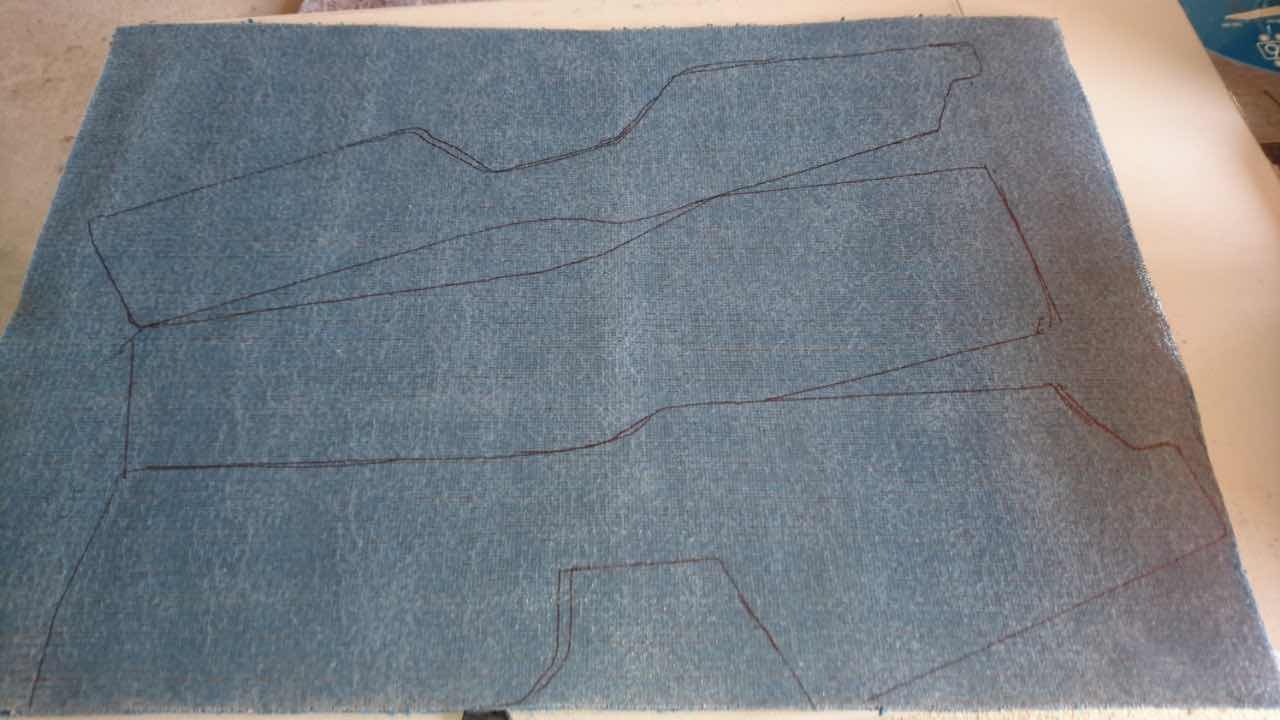
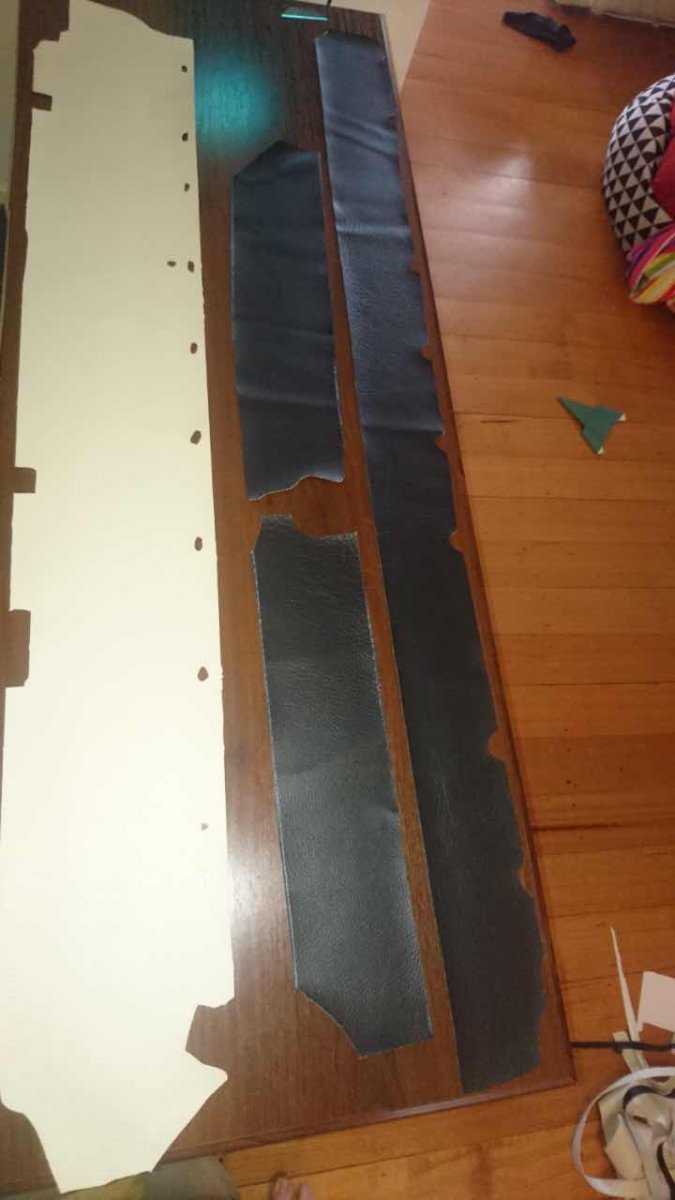
I kept the old vinyl pieces and was able to use them as a template for the remaining pieces.
These are the cut outs.
When it came time to glue them on, I originally tried to lay the glue everywhere it was needed, but it's much easier to just glue in sections. You just have to make sure that you've got your vinyl lined up straight from the start. A small misalignment at the beginning results in a big misalignment at the end. Once I figured this out, it took all the stress out.
Make sure you have a can of Prepsol and a rag handy to quickly clean up any drips and for when you roll the vinyl, as sometimes the glue squeezes out from under the vinyl. It cleans up surprisingly easily if you get it before it sets hard.
Once the vinyl was glued down, I gave it a roll with the roller that came with my Carbuilders sound deadener. Due to the bubbles that formed in the parcel shelf vinyl, when I did the door tops, I put masking tape over like this.
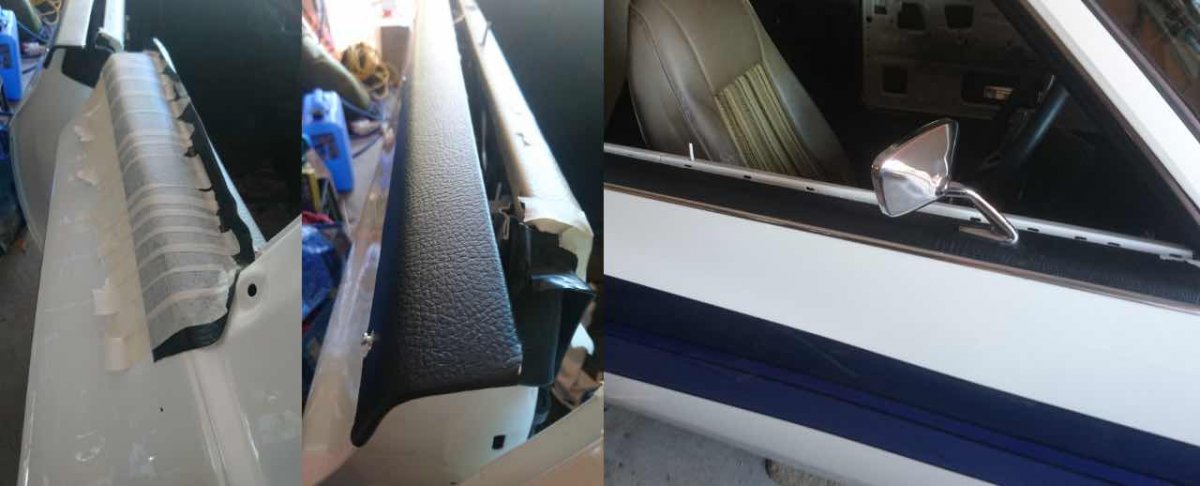
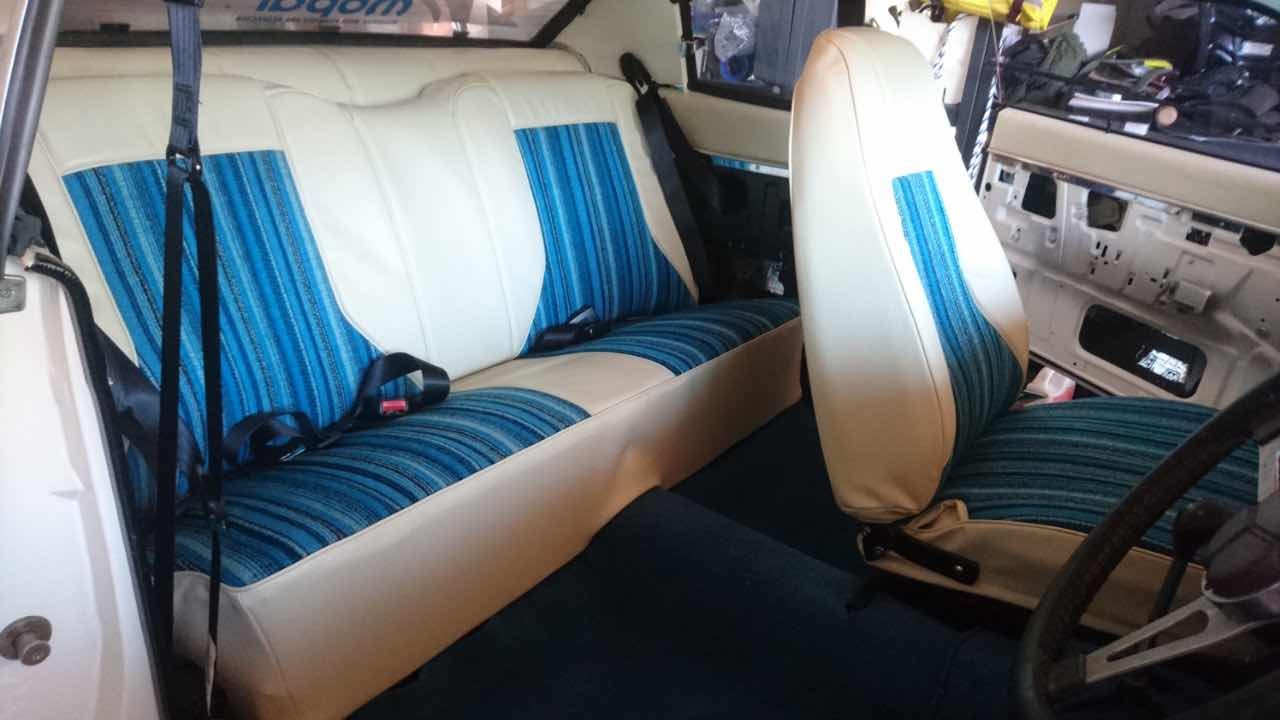
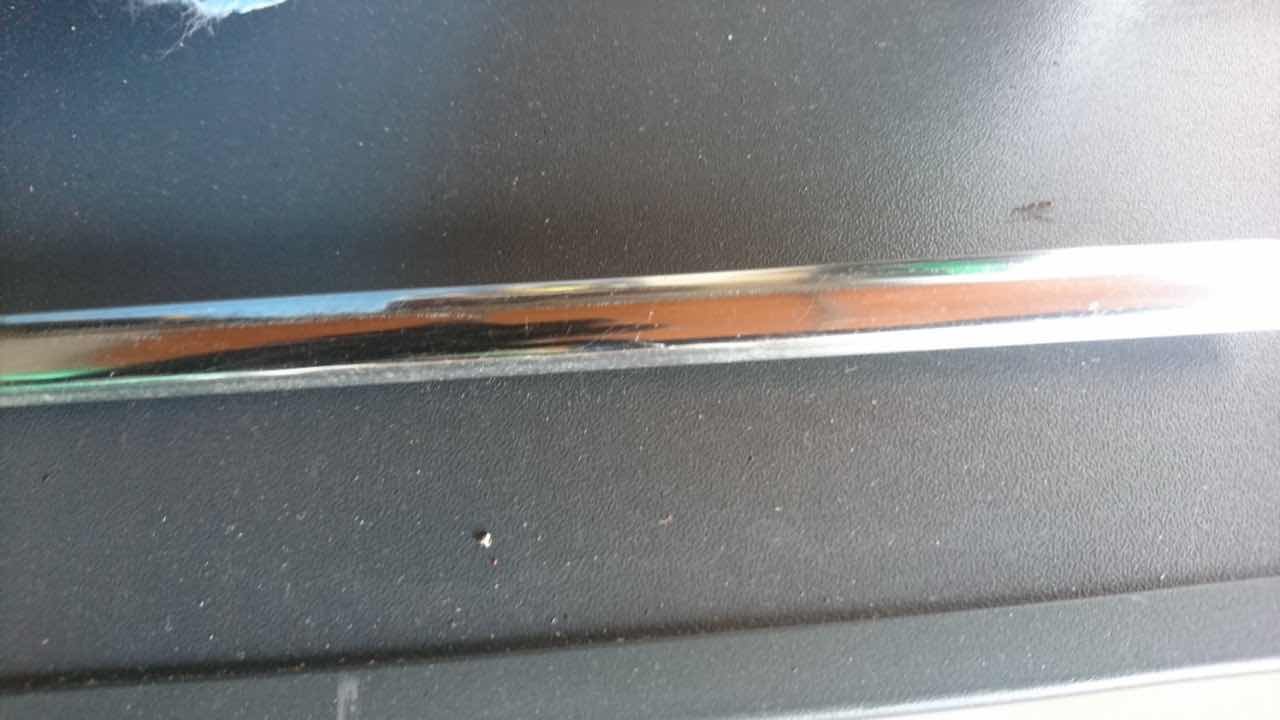
This stopped the bubbles almost completely, but what did happen is that the glue seemed to separate and oozed out through the vinyl. Luckily it just wipes off with the Prepsol. Using the above method seems to have given good results. If I ever do it again, I’d let the glue dry before applying the vinyl. Driver’s side with vinyl, chrome strip and mirror fitted.
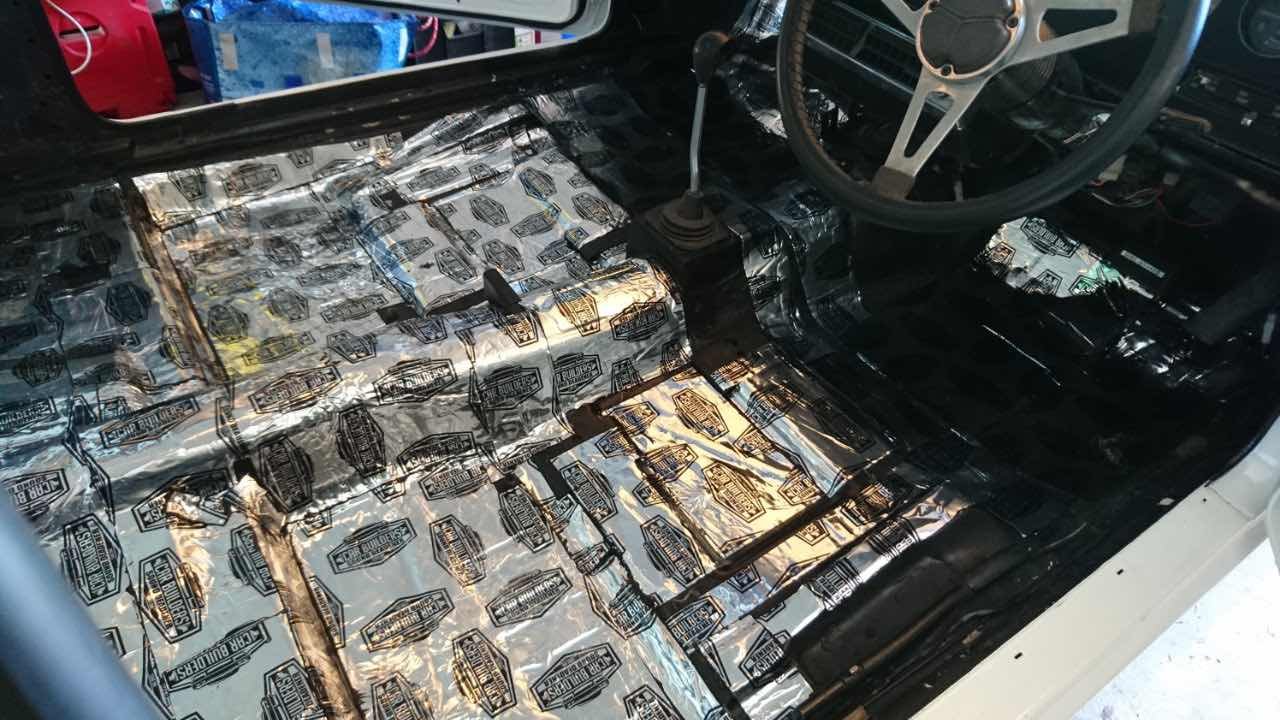
As mentioned earlier, I used the Carbuilders brand sound deadener kit, and it was time to put it through the rest of the car. As you can see, particularly from the last photo, I didn't get too OCD about it. For the weight conscious among you, I weighed a box of the sound deadener and it was 6.8kgs.
In the photos below I used a little over two boxes. If I was worried about weight, I’d be better off going on Light & Easy and once I hit my goal weight, the car and I would be about 20kgs lighter including sound proofing and quieter as well.
The 'muscle car' pack includes 4 boxes of deadener and two boxes of insulation (plus the headliner insulation) which is plenty for a Chugga, even if you do fill every nook and cranny. I also put it in the doors, next to the rear passenger seats and the boot. It really does make a difference, but it's not like a new car or anything - you can still hear all the rattles and squeaks, but you can also hear your passenger without having to shout.
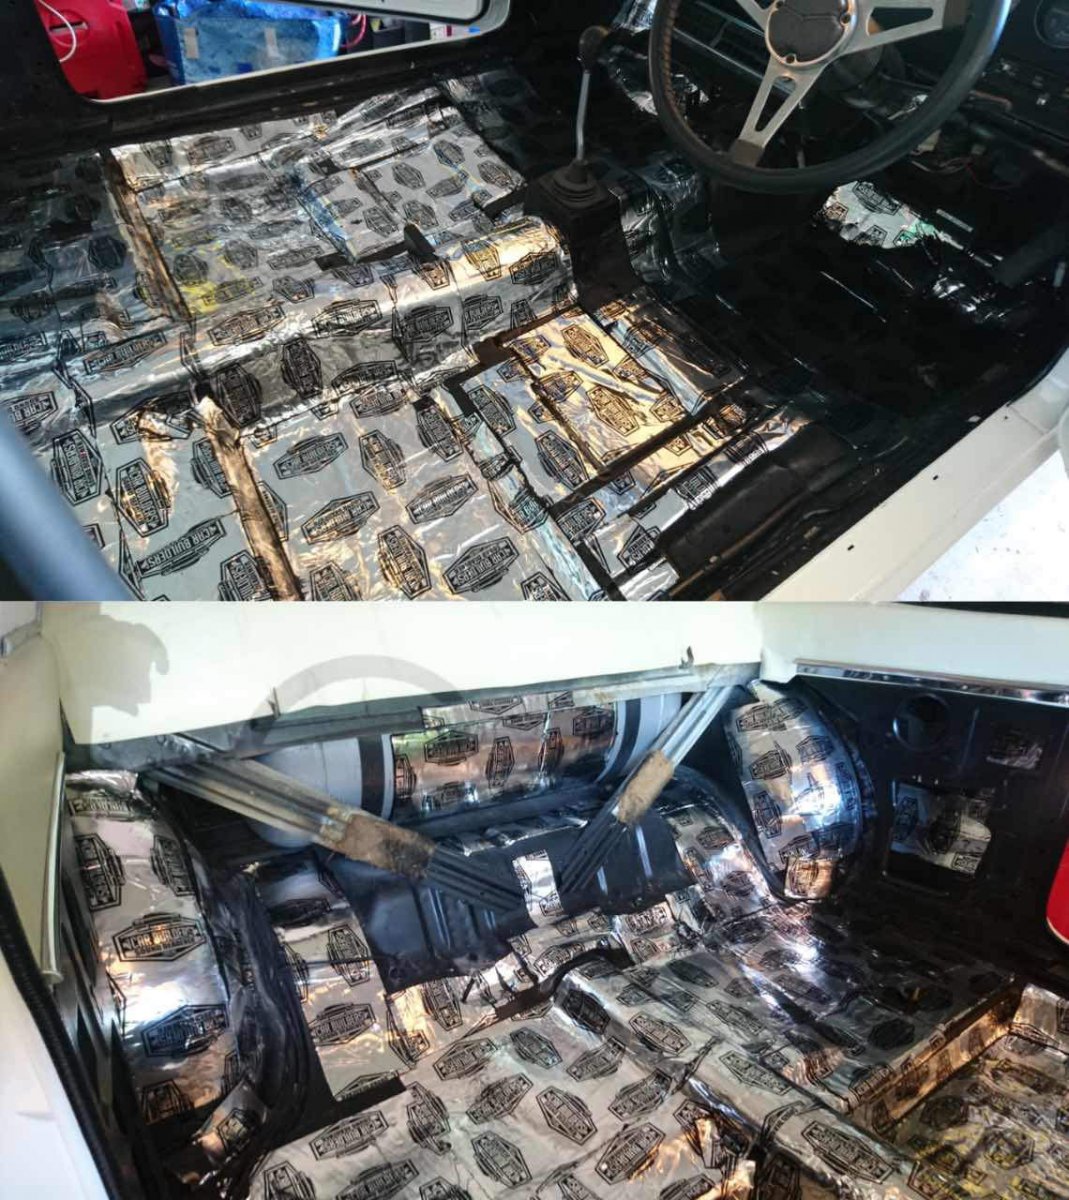
Next went on the insulation/underlay/sound proofing layer which is two types of foam, one open and one closed cell. It has a sticky side with peel off backing paper (which is a pain the arse to peel off) and goes on pretty easily.
They recommend in the instruction video that you lay it on in the big sheet (after having cut holes and shapes as required) which I did with the first sheet, but I found it easier to cut it into smaller sections first. If you had someone to help you, the big sheet might not be so bad.
Half done.

I also bought a 'sound deadening' boot divider thing off eBay. It seems ok, and much easier than trying to make one out of Masonite or ply or whatever. It fits perfectly so was a 10 second install. Next up, carpet. I bought it from Knox Carpets. They were great to deal with; I think it arrived about 2 days after I ordered it. Being described as 'moulded' I stupidly thought it would pretty much just drop in, but there is actually quite a bit of cutting and massaging to get it to fit.
The next pic is with some holes cut for the seat bolts. I just pushed a pointy tool through the holes from the bottom and then cut a small square around it. Took about 5mins.
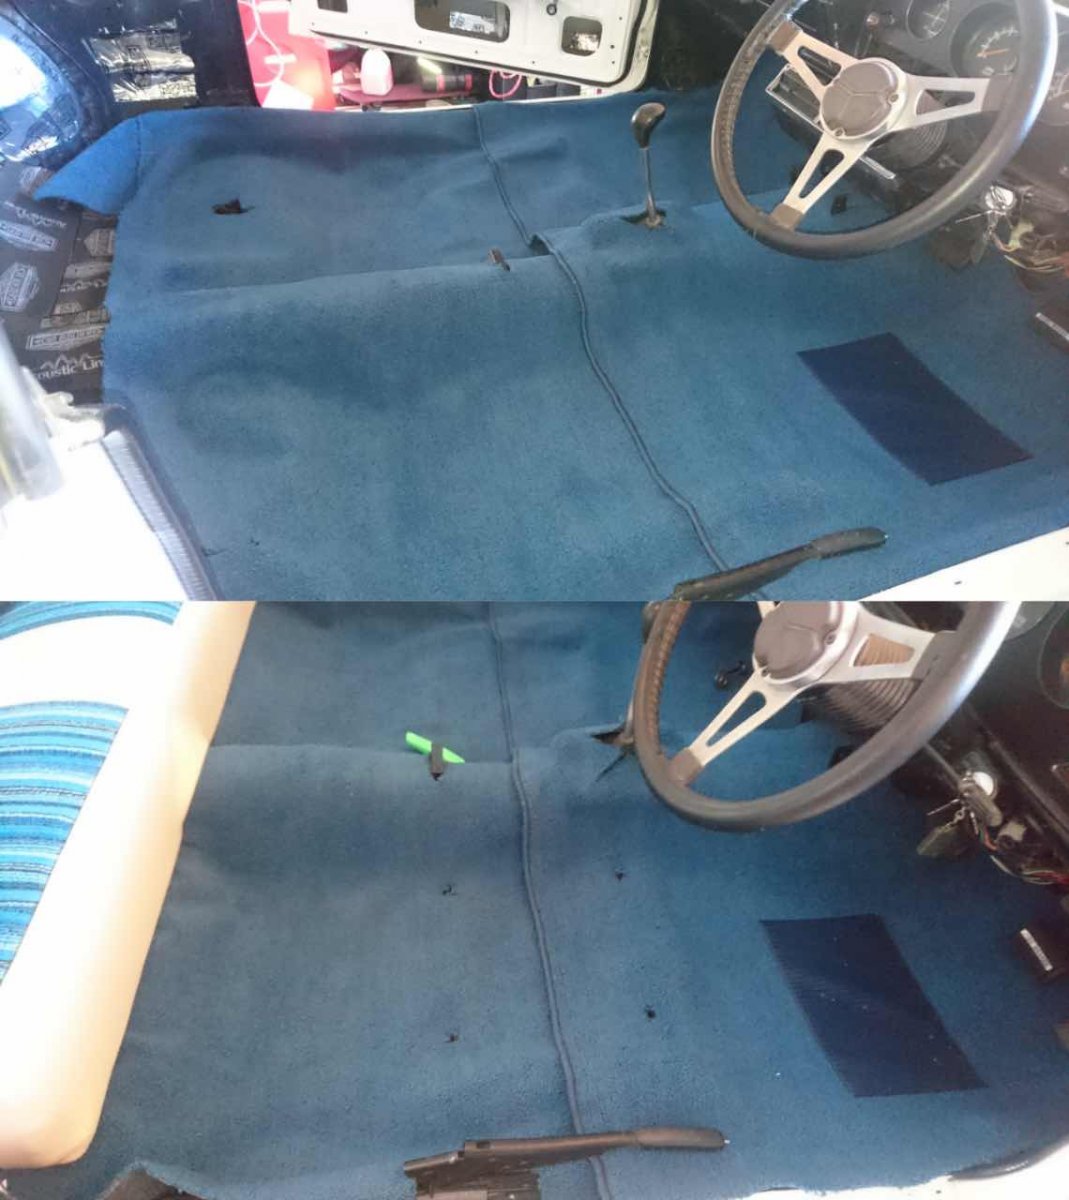
Now a photo with three of the seats in. The driver's seat is now it too, but I like this photo and you can see a bit of the carpet.

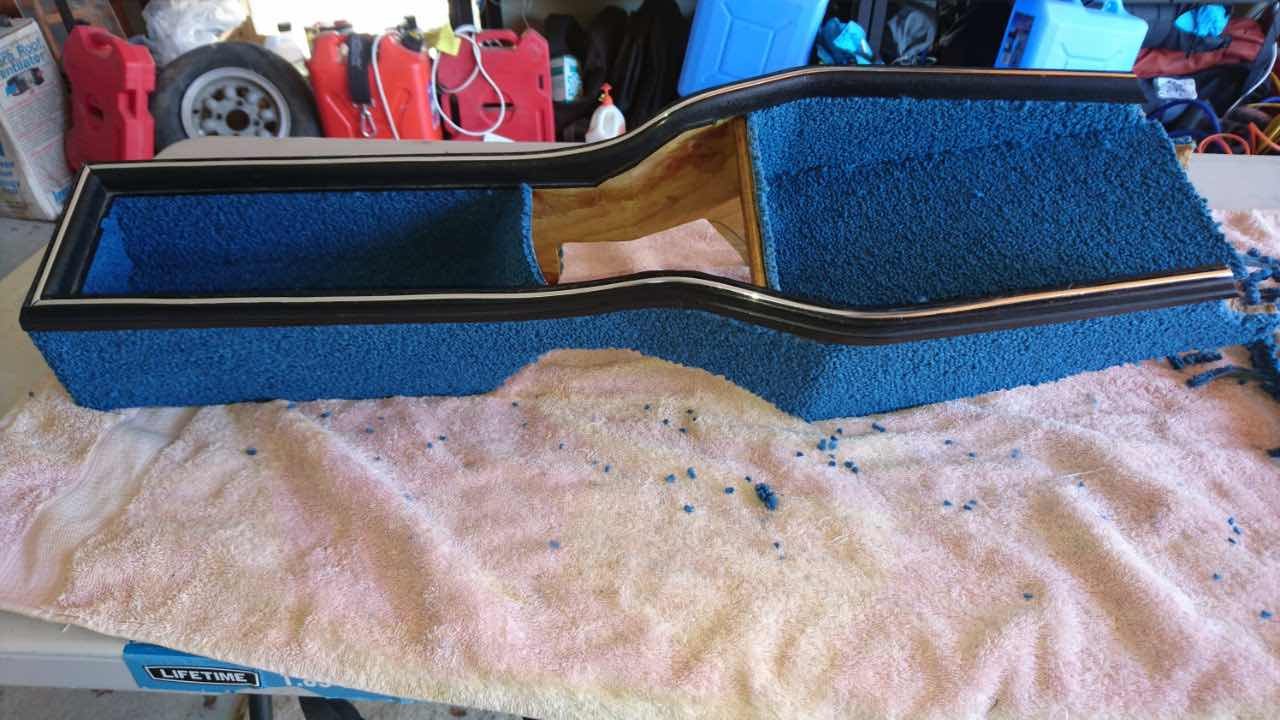
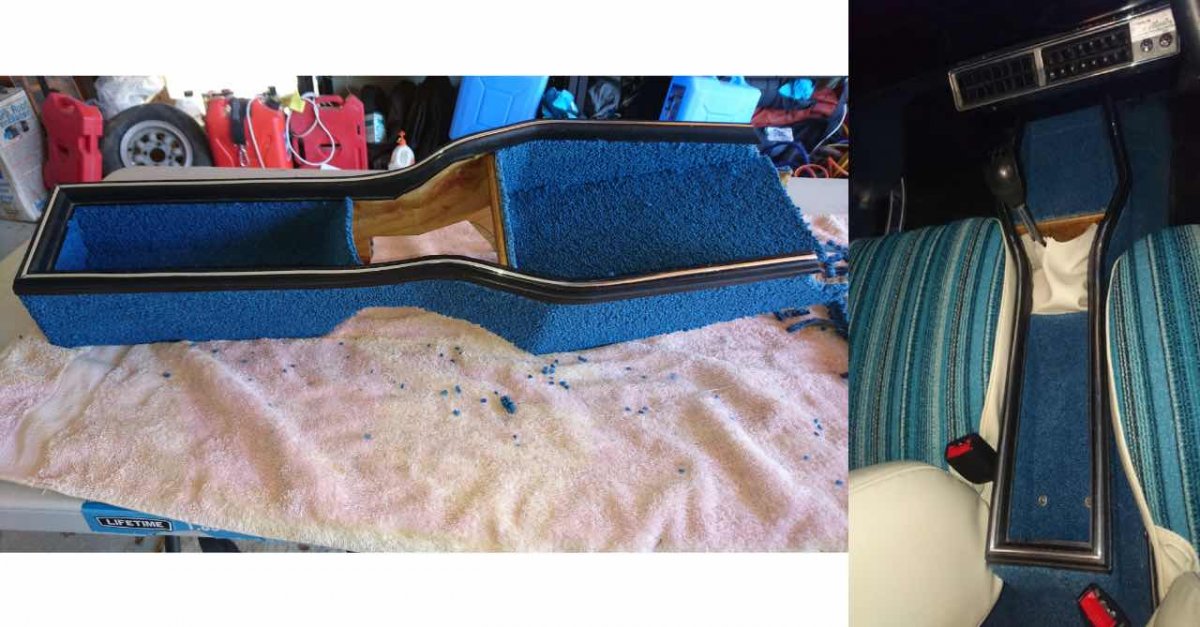
Here are some pics of how I carpeted the centre console. When I ordered the carpet I ordered some extra to cover the console, and after some elbow grease to remove the existing covering and extra glue, I was left with the wooden structure:
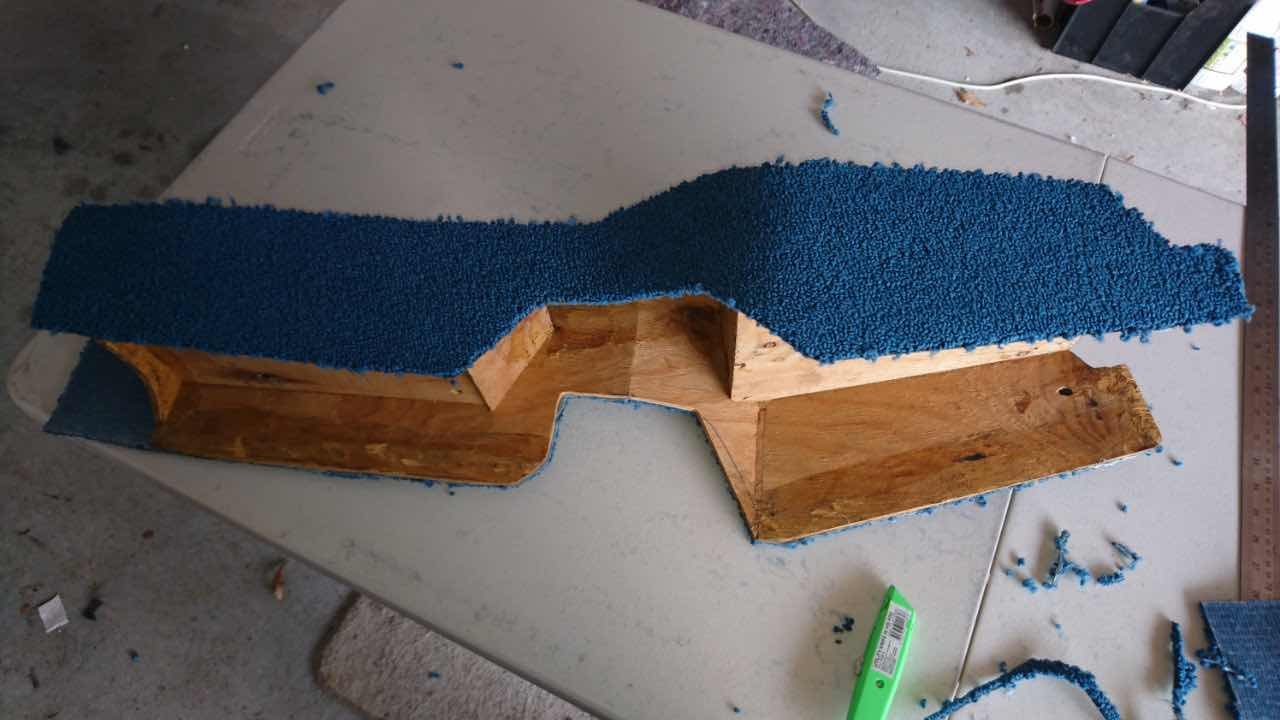
I recall that on one of the Chrysler forums, people were talking about the consoles being made from recycled packing crates and I think the next photo would confirm that as mine seems to have a delivery address painted on it. Who says muscle cars aren’t environmentally friendly? They’re made of recycled materials!
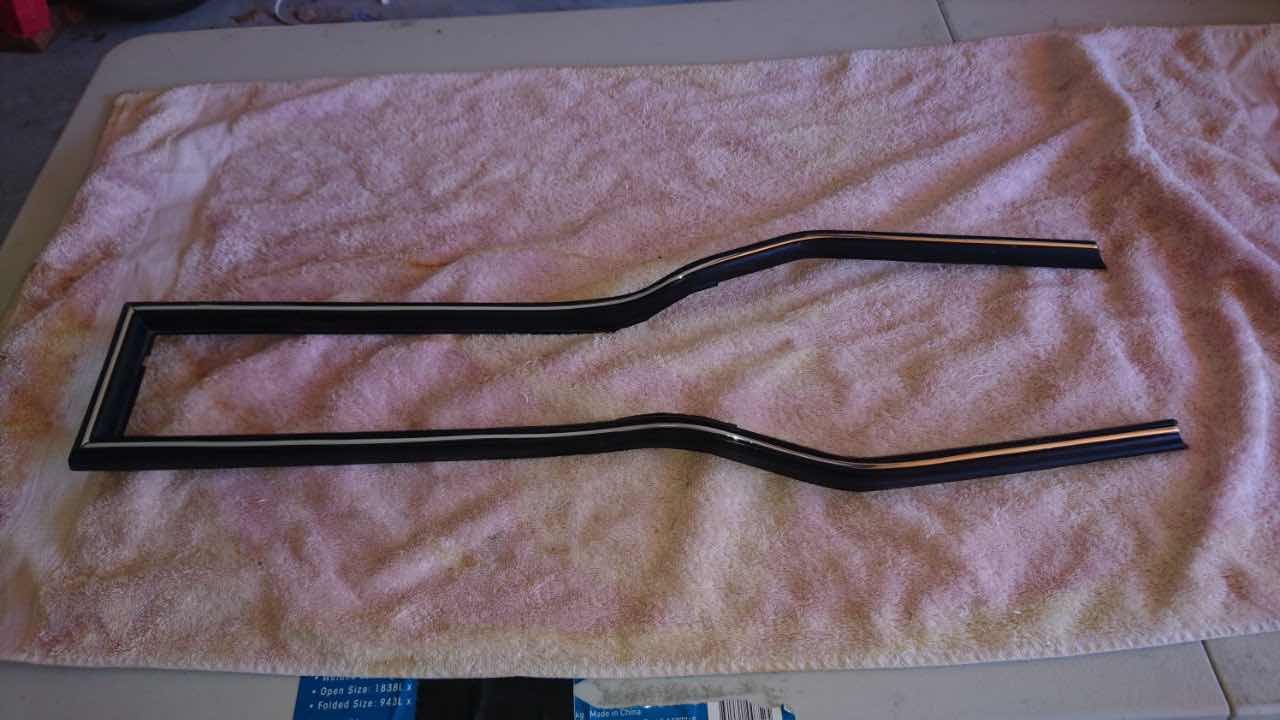
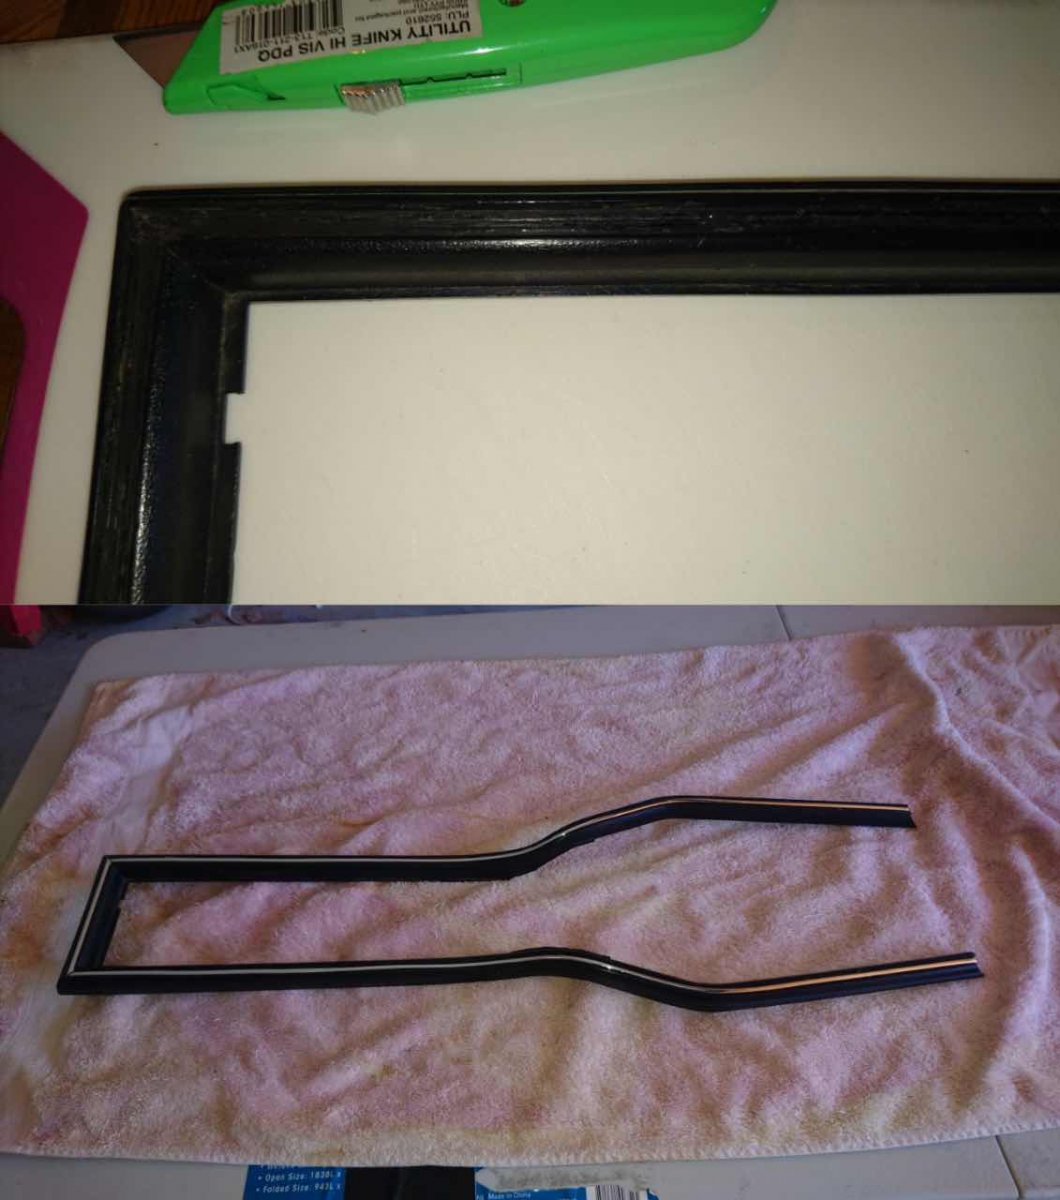
I used the console as a template to mark up the the sides and ‘top’. Test fit, 'cause you know, measure twice, yadda yadda yadda. Had a fun time cleaning out the old glue from the groove in the top trip where the chromed plastic bit goes...where is the sarcasm emoji when you need it?
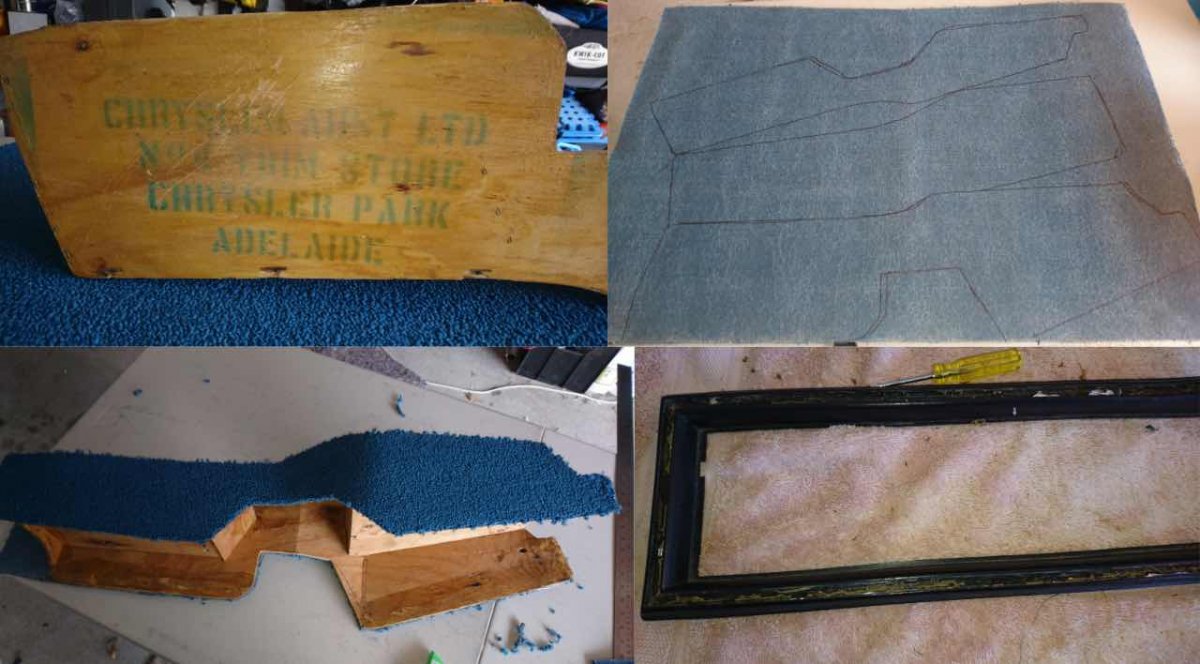
The chrome strip is a bee's you-know-what smaller in width than the original, and it actually makes it really hard to fit it nice and straight, because there is room for it to move side to side. Anyway, other than that, it's dead easy to install, just peel and stick.
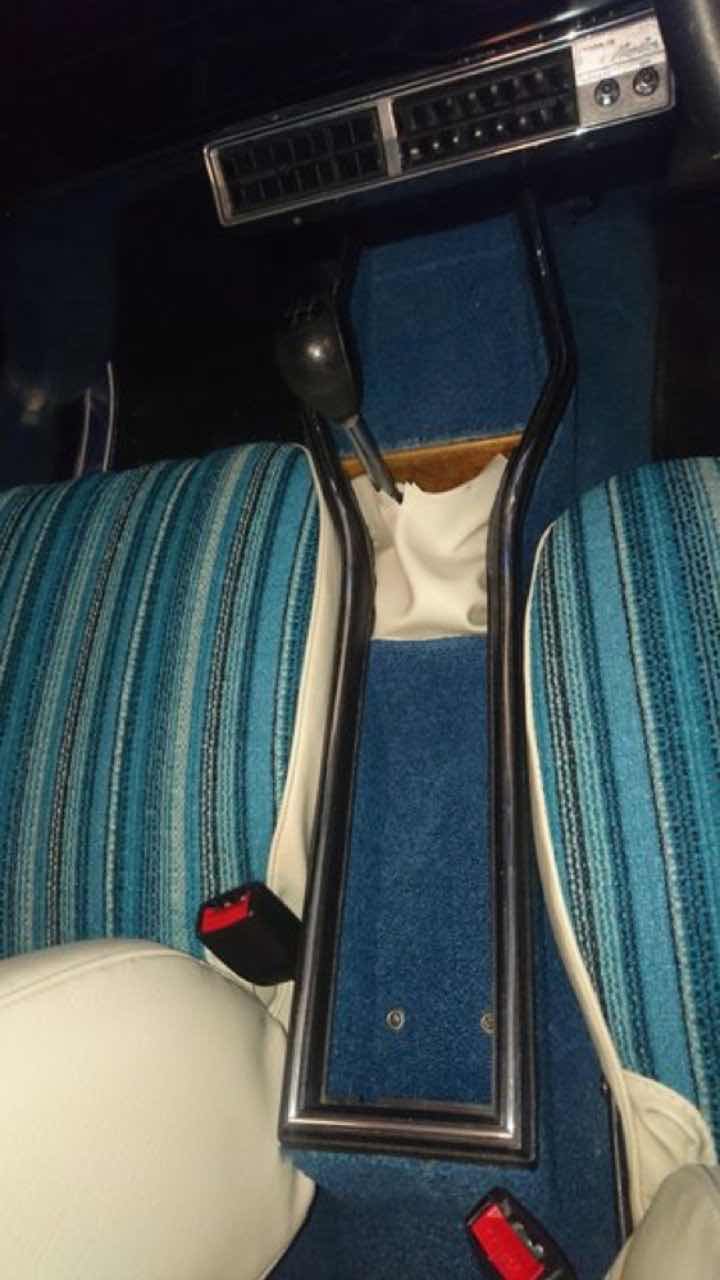
All glued on and ready to install.
One thing that isn’t period correct on the car is the stereo which I installed so I can hook my phone up via Bluetooth and listen to my favourite tunes.
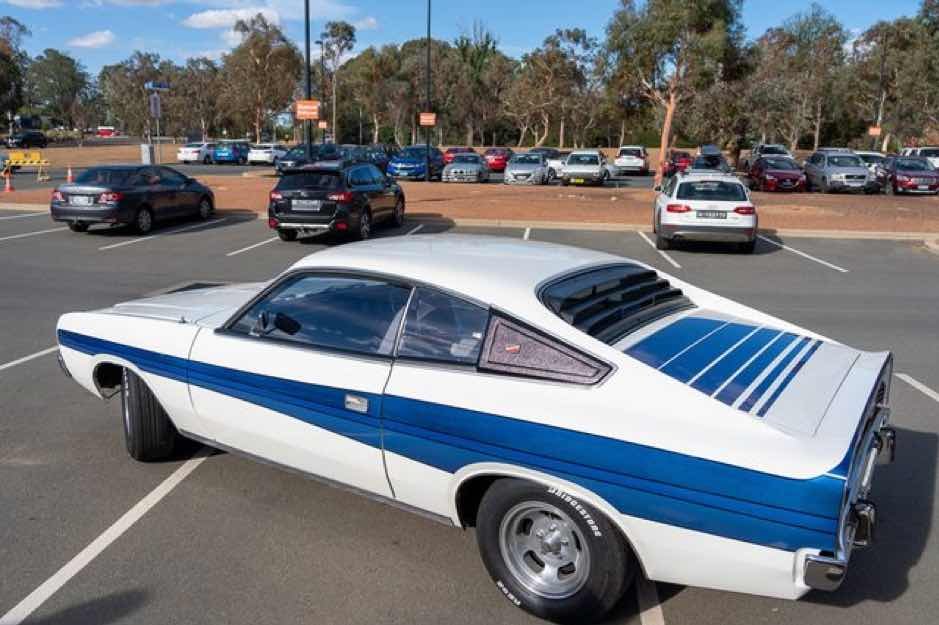
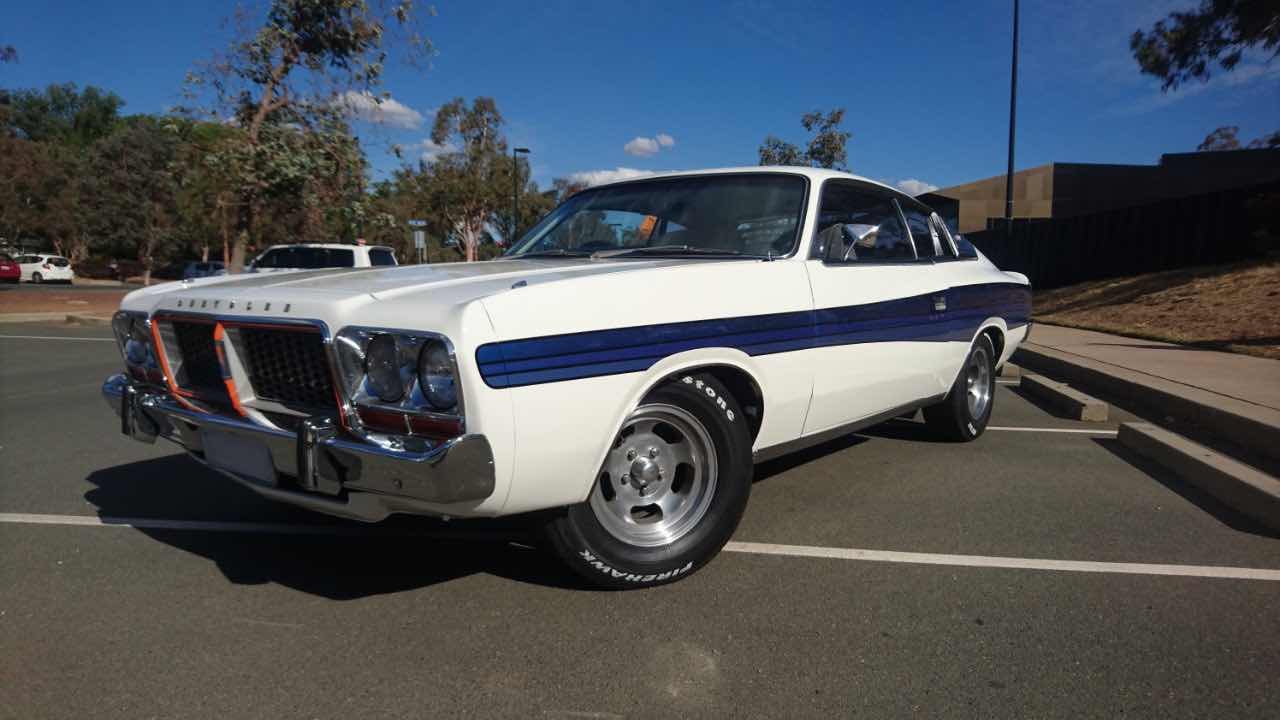
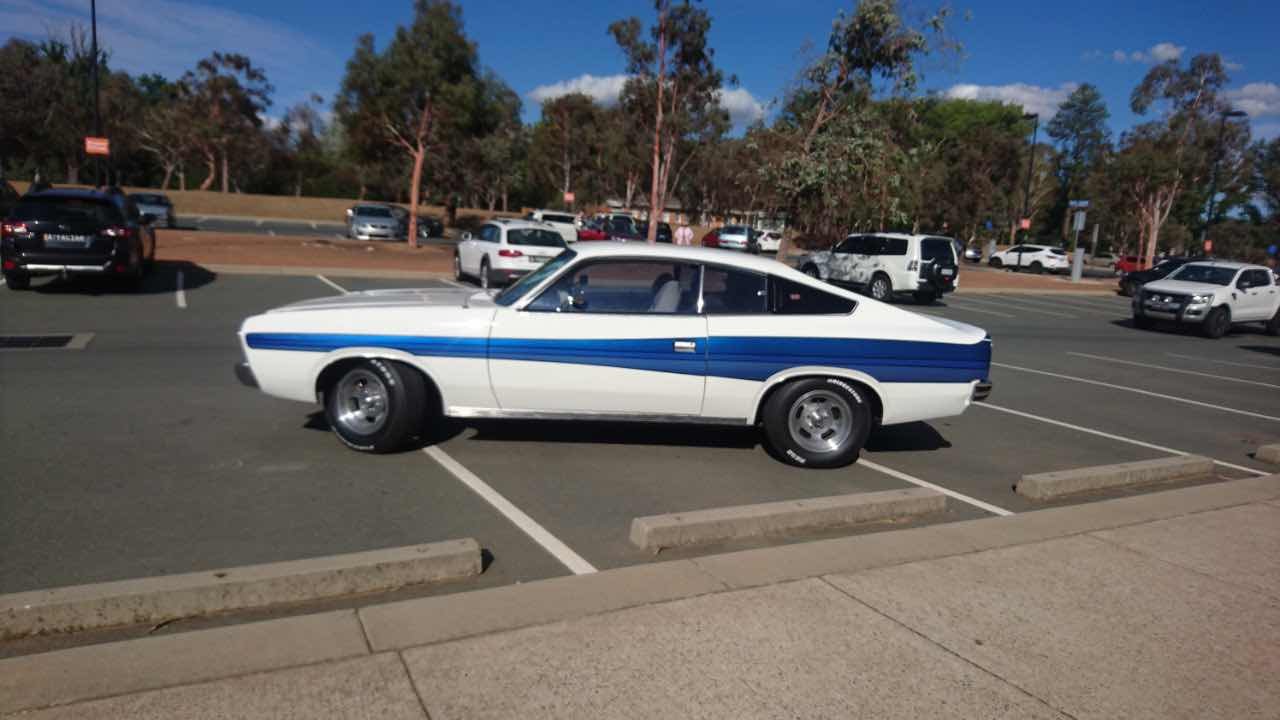
The car is pretty close to finished now, but these things are never really finished, so I'll keep chipping away at all the little details. I will also turn my attention to the driveline when funds and time allow.
This was the car on the night of my son's formal.